support hotline
0577-57572522
I. Performance Introduction:
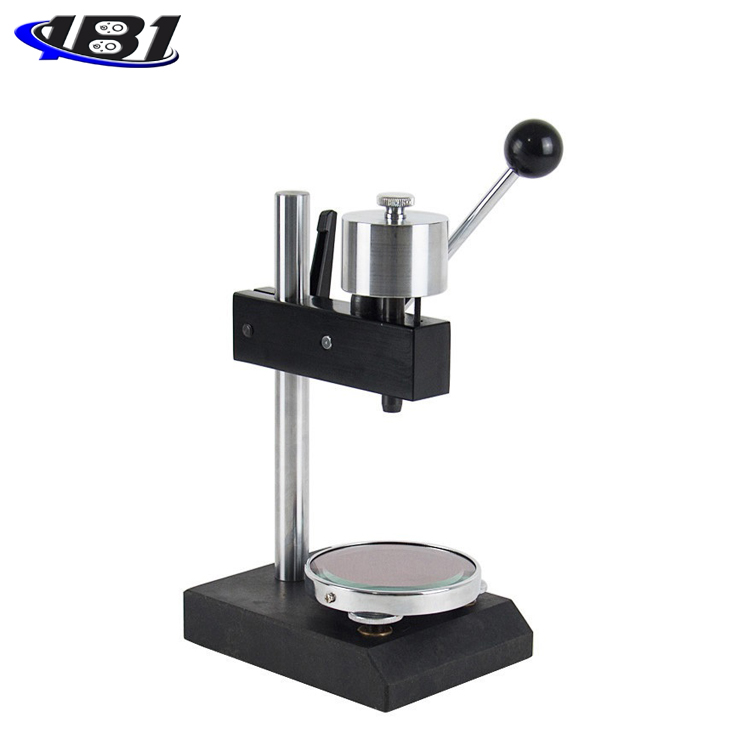
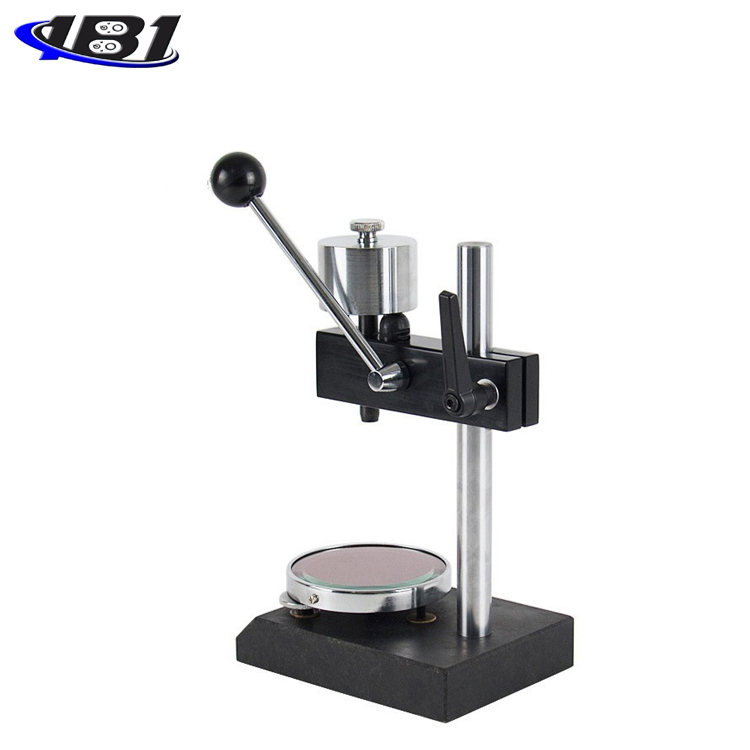
LAC-J and LD-J test stands are new-generation Shore hardness test stands developed by our company. The test principle is more scientific, the structure is more compact and reasonable, which further improves the stability and accuracy of the test. And the use of a high hardness metal platform instead of the traditional glass platform, effectively avoiding the shortcomings of the fragile glass platform; especially in the D-type hardness test, the user no longer needs to be equipped with a special hardness block, making the test more economical and convenient .
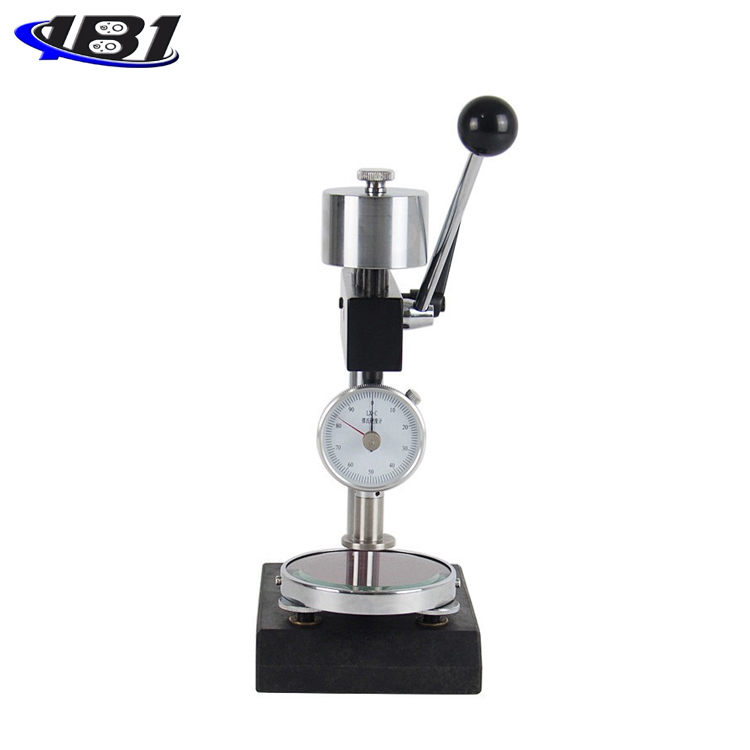
LAC-J type is suitable for LX-A, LX-C type hardness tester produced by our company, LD-J type is suitable for LX-D type hardness tester produced by our company.
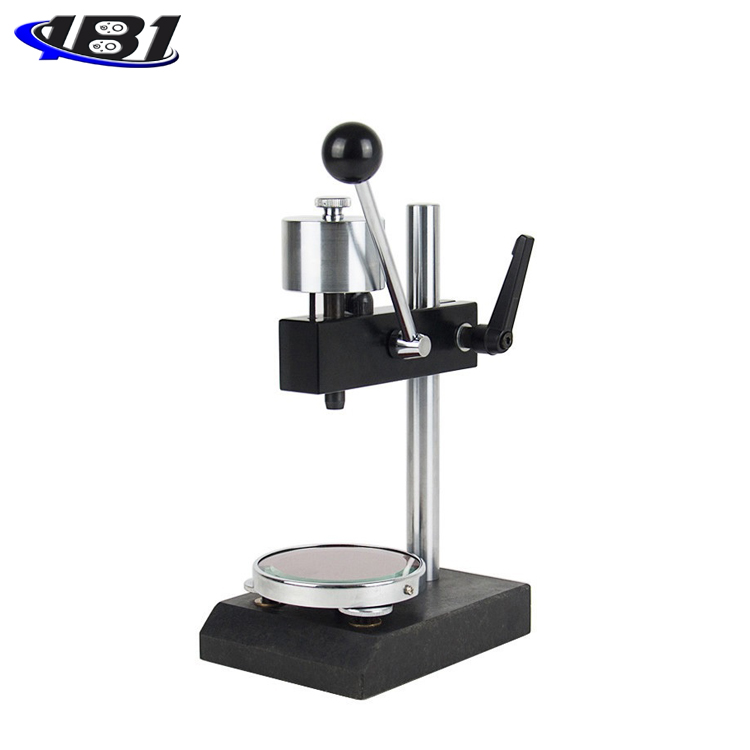
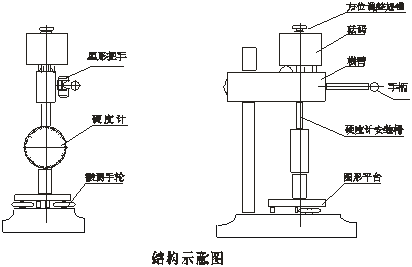
Structure diagram:
3. Method of use:
1. Installation and commissioning:
(1) The test stand should be placed on a stable and flat workbench, and then adjust the height of the cross arm. During operation, loosen the bakelite star handle with your right hand, and lift the horizontal arm with your left hand to make the bottom of the hardness tester installation rod about 110mm away from the circular platform surface.
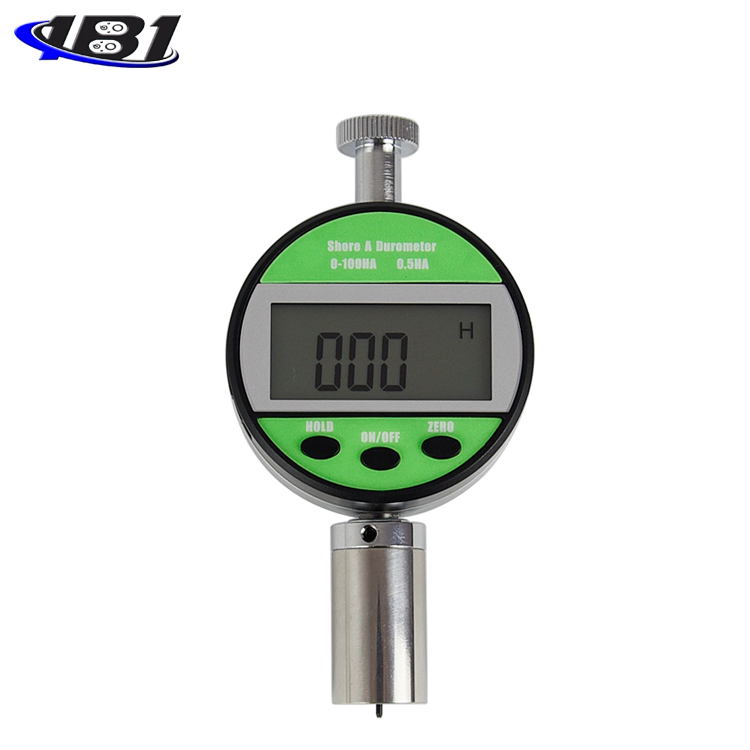
(2) Unscrew the dust cap on the upper end of the hardness tester, and then screw the hardness tester into the mounting rod of the test frame, and tighten it (do not use excessive force when tightening, otherwise the hardness tester will be damaged). The surface of the gauge is not aligned with the operator, you can loosen the azimuth adjustment knob on the top of the weight, then turn the hardness tester to the desired angle, and then tighten the azimuth adjustment knob.
(3) Loosen the bakelite star handle on the cross arm, adjust the height of the cross arm again with your left hand, and when the bottom surface of the hardness tester foot is about 10mm from the circular platform of the test stand, tighten the handle and press down the test stand handle to make the presser foot Make full contact with the round table, slowly turn the two fine-tuning hand wheels under the round table until the hardness tester shows 100 degrees (± 1 degree). At this point, the installation and commissioning of the test frame and hardness tester are finished.
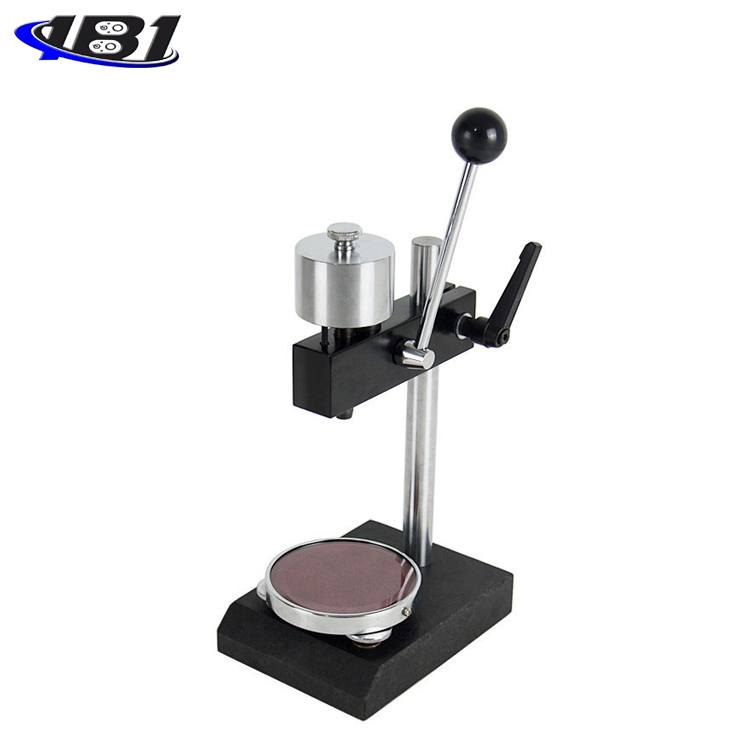
2. Sample requirements:
The specimen must be flat, with a thickness of not less than 6 mm, and a sufficient area, and the contact position between the pressure pin and the specimen shall be not less than 12 mm from the edge of the specimen.
3. Test method for hardness of rubber and plastic samples:
Place the sample on the round platform, loosen the star handle on the cross arm, adjust the height of the cross arm, and reach the bottom surface of the hardness tester foot about 5mm from the test surface of the sample, then tighten the star handle on the cross arm. Press down the handle to make the hardness meter read within 1 second when the pressure foot and the sample are fully in contact with the weight of the fixed load. The value displayed by the hardness meter is the hardness value of the test sample. In order to improve the accuracy of the test, five measurements are taken at different positions at least 6 mm apart and the average value is taken.
Fourth, maintenance:
Lubricant should be frequently filled in each moving part of the test frame. After the test, the instrument should be cleaned to prevent moisture and coated with a small amount of antirust oil.