support hotline
0577-57572522

I. Performance Introduction
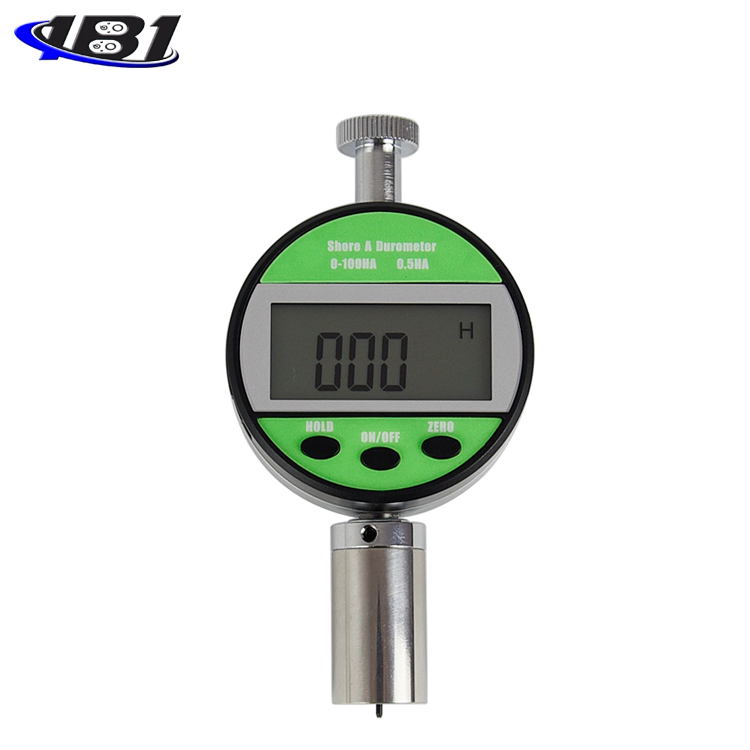
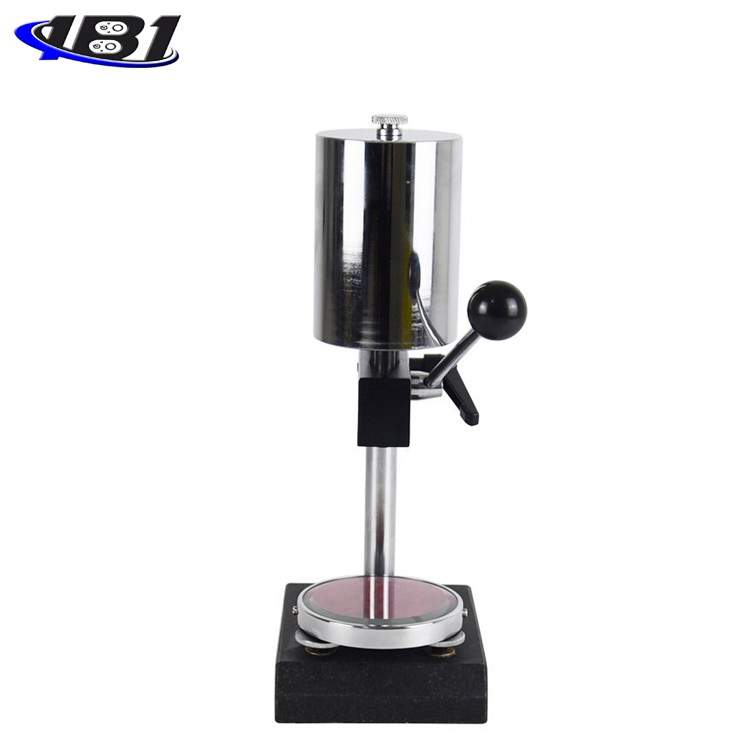
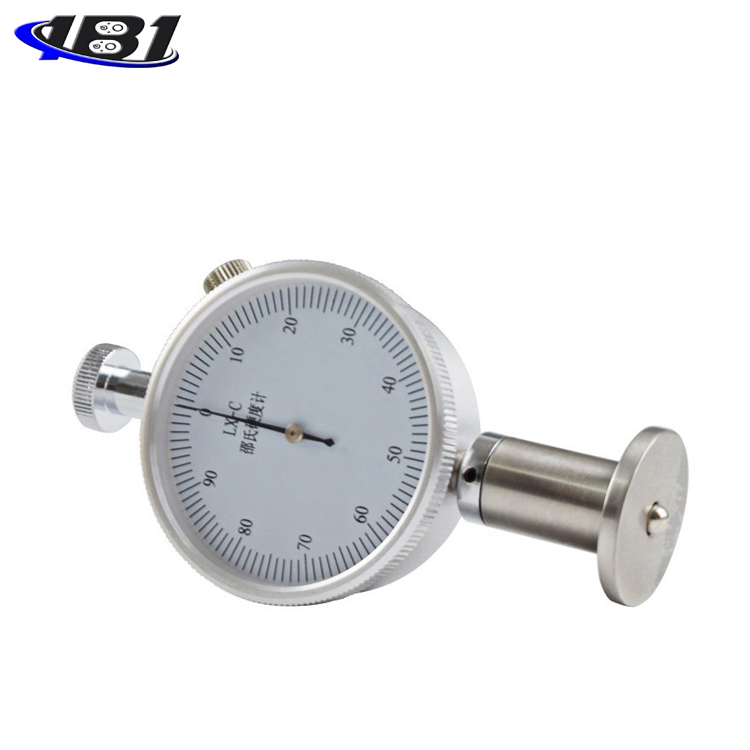
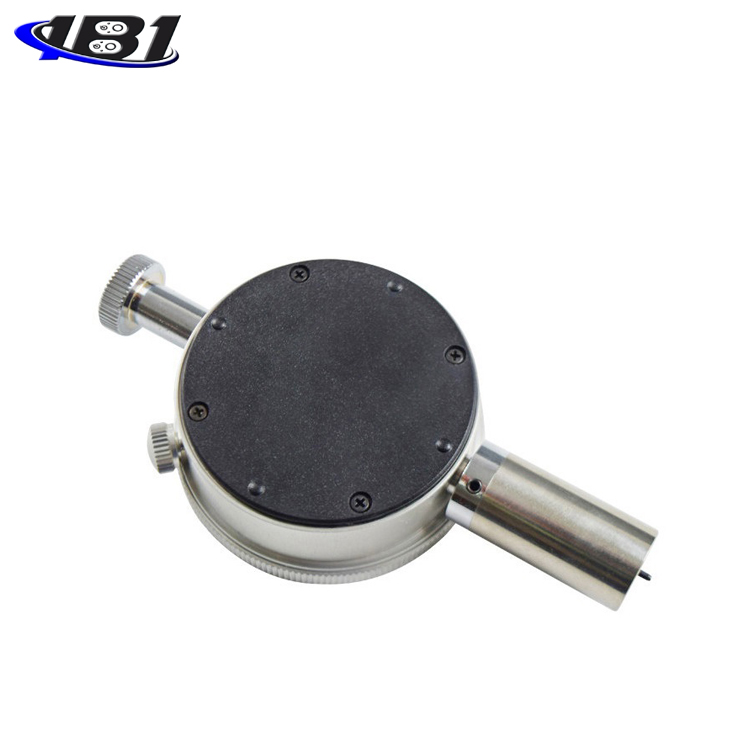
Pointer Shore hardness tester is widely used in hardness testing of vulcanized rubber and plastic products. It has the characteristics of simple structure, convenient use, light body, and intuitive reading. It can be carried by hand to carry it, or it can be installed on the supporting model of the same type Shore hardness tester for fixed load test. Comply with standards DIN53505, ASTM D2240 ISO / R868, JIS R7215.
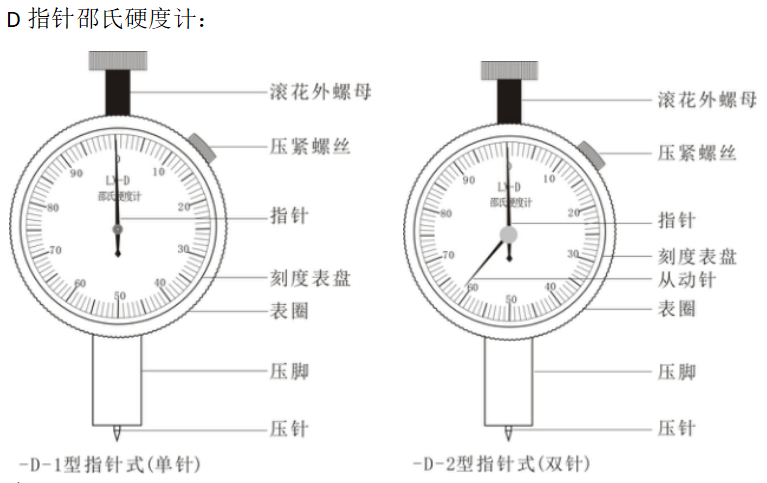
Type appearance
Overview
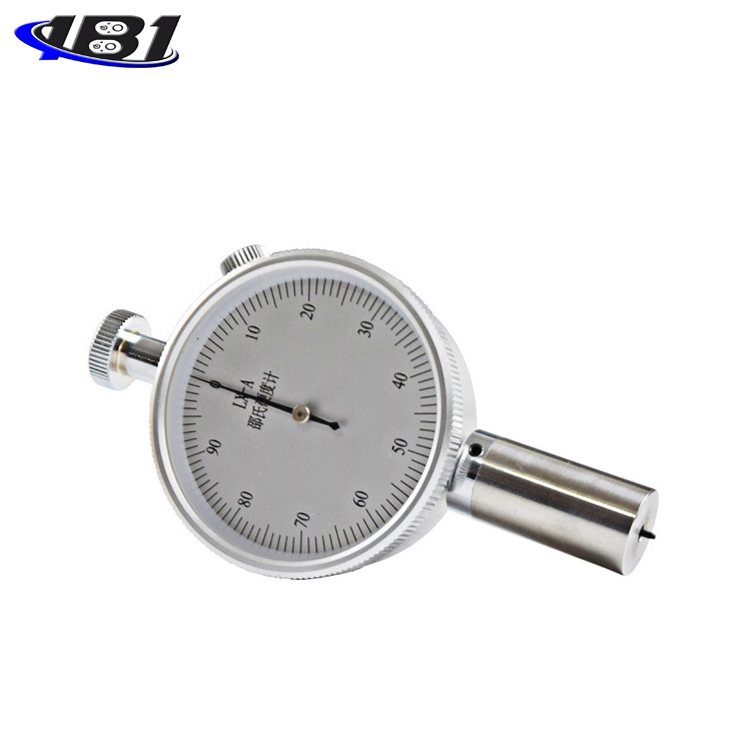
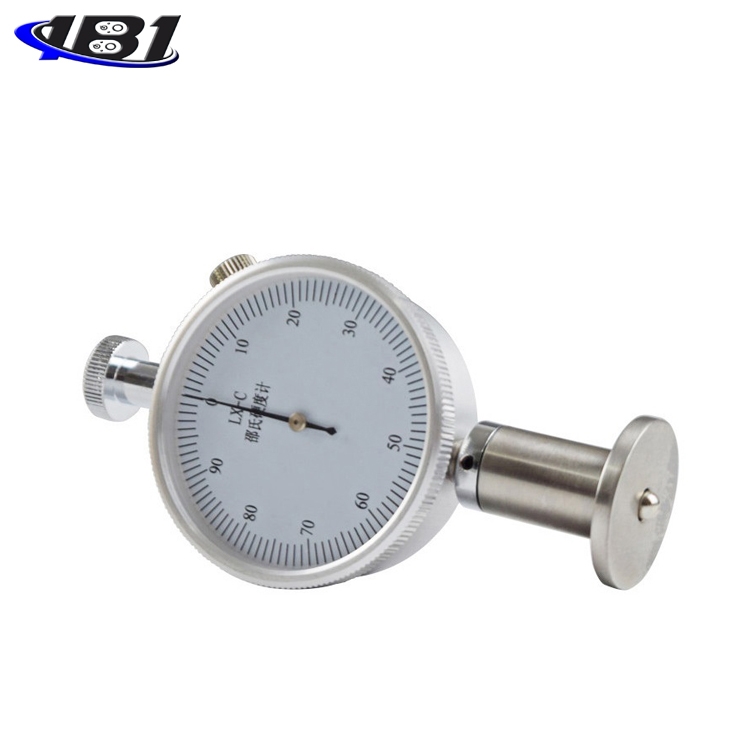
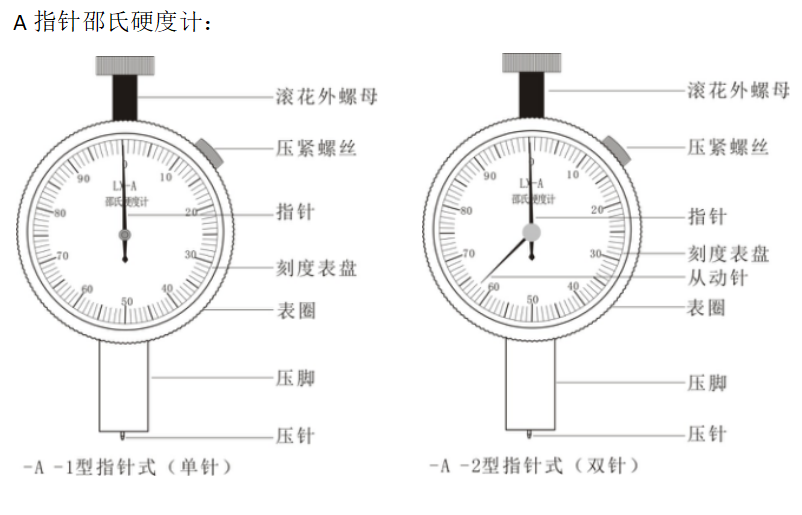
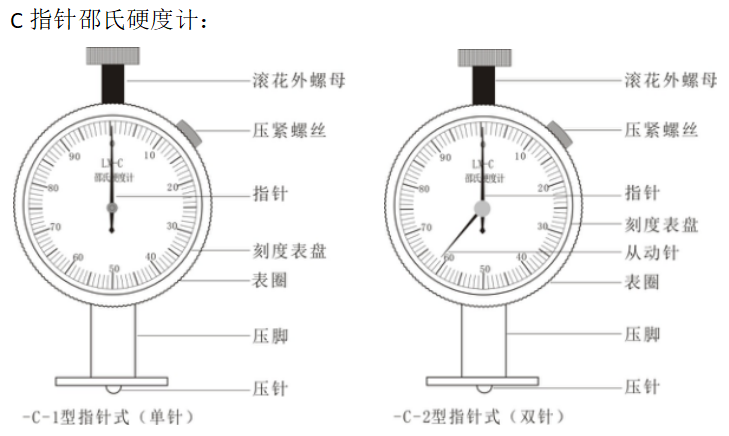
The pointer Shore hardness tester has three types: A type, C type and D type.
Type A is generally suitable for testing the hardness of low and medium hardness materials such as rubber, synthetic rubber, polyester, felt, leather, and wax.
Type C is suitable for testing the hardness of microporous materials similar to shoes made of rubber combined with a foaming agent in a plastic with a compression rate of 50% and a stress of 0.049 MPa or more.
Type D is generally suitable for testing the hardness of hard materials such as hard rubber, hard resin, plexiglass, printing plates, flooring materials, and bowling balls.
This hardness tester complies with the relevant regulations of GB / T531-99, GB2411-80, HG / T2489-93, JJG304-2003, GBT 531.1-2008.
Fourth, the main parameters
Dial value: 0-100 degrees
Press needle stroke: 0-2.5mm
Pressure at the tip of the needle: A type, C type 0.55N-8.05N
D type 0-44.5N
V. Usage
Place the sample on a solid surface, hold the hardness tester with the hardness tester panel and the operator at an angle of direct view, and the pressure needle should be at least 12 mm from the surface of the test sample. Press the hardness tester into the sample smoothly until the presser foot and the tester are completely in contact with each other, and the presser foot and the test sample are completely in contact with each other within 1 s to read. Each sample shall be tested no less than 5 times, and each test point shall be at least 6mm apart. After the test is completed, take the average value (at least 15mm between the measurement points of the microporous material). In order to stabilize the test conditions and improve the test accuracy, the hardness tester should be installed on the shore hardness tester supporting the model and tested. (Note: The two-pin Shore hardness tester does not need to read within 1S. After the two-pin Shore hardness tester is tested, the driven needle will stay on the value scale of this test until the compression screw is returned to zero.)
Six, instructions for use
In the free state, the pointer of the hardness tester should point to the zero position. If the pointer slightly deviates from the zero position, you can loosen the compression screw in the upper right corner and turn the bezel to align the pointer of the hardness tester with the zero position. Press the hardness tester on the flat plate, the end surface of the pressure needle and the bottom surface of the pressure foot are in close contact. At this time, the pointer should be in the range of 100 ± 1 degree. If the pointer is not at 100 ± 1 degree, the hardness tester cannot be used. Use method with the supporting bracket of the Shore hardness tester produced: Remove the knurled outer nut on the head of the hardness tester and install it at the corresponding position of the test bracket. Hold the handle down and press down. Under the action of the weight of the weight, the pressure foot of the hardness tester is in contact with the measurement platform on the test stand. At this time, the pointer of the hardness tester should be at 100 ± 1 degree. If the pointer is not at 100 ± 1 degree, the two adjustment handwheels of the test stand should be adjusted so that the hardness tester foot is in full contact with the measuring platform. After debugging, if the hardness count still does not meet the standard, it cannot be used, it is better to send it to the factory for adjustment.
When testing the zero position of the D-type hardness tester, it must be tested with a hard special gauge block. If the glass plate is used for inspection directly, the hardness tester pin will damage the surface of the glass plate, making the inspection value inaccurate. For specific operation methods, please refer to the instruction manual of the special gauge block.
Rubber samples should be prepared according to GB / T631-99, plastic samples should be prepared according to GB2411-80, and rubber microporous materials should be prepared according to GB2489-93.
If conditions permit, rubber samples should be adjusted at the laboratory standard temperature according to GB / T2941 and GB / T2918 before testing. When the sample is tested with type A hardness tester, if the measured value exceeds 90 degrees, it is recommended to use the D type hardness tester; when the sample is tested with D type hardness tester, if the measured value is less than 20 degrees, it is recommended to use A-type hardness tester is used for testing; when the A-type hardness tester is used to test the sample, if the final measurement is less than 10 degrees, the measurement result is not accurate.
After the hardness tester is used, it should be wiped into the instrument box and stored in a dry place to prevent moisture. The test stand should be frequently wiped and coated with a small amount of anti-rust oil to prevent rust. In addition, the moving part should be filled with No. 20 engine oil. The hardness tester shall be regularly inspected according to the provisions of JJG304-89.
Under the user's compliance with product storage and use conditions, if the product does not work properly within 6 months from the date of purchase, our company is responsible for repairing and replacing the user for free.