support hotline
0577-57572522

I. Overview
1.1 Main uses and scope of application
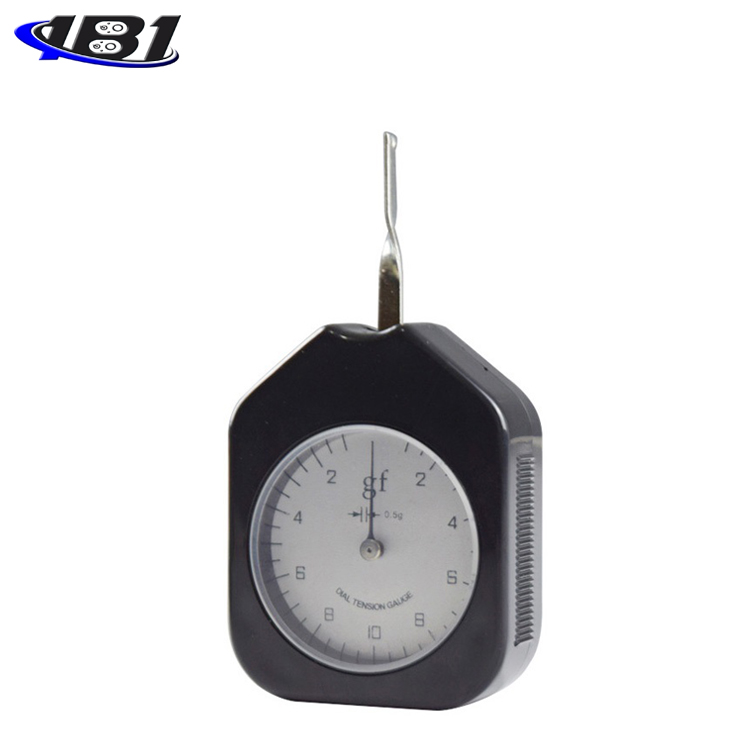
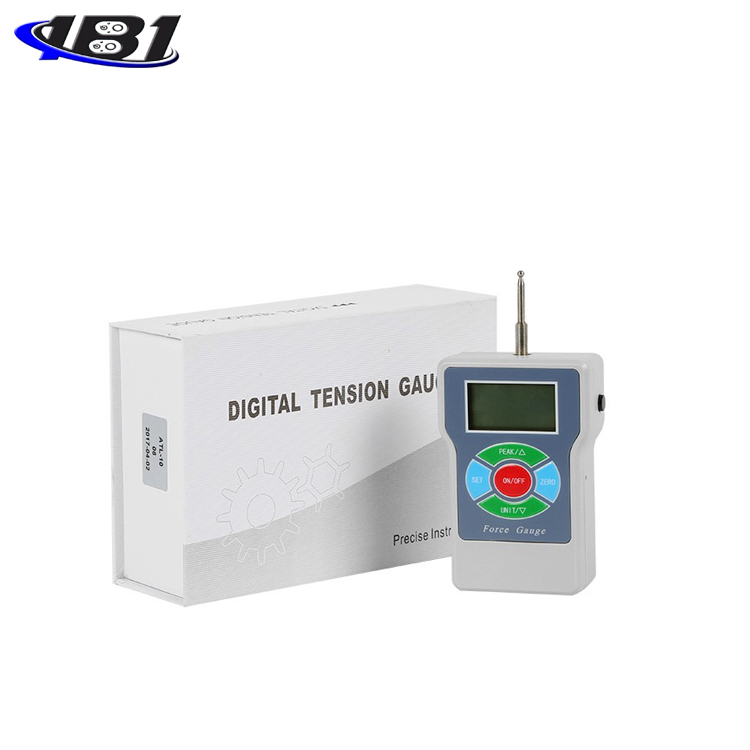
Digital tensiometer is a general-purpose portable low-power tension tester. It has the characteristics of small size, light weight, easy to carry, wide range of use, and high precision. And mechanical pressure such as armature pressure,
1.2 Product Features
1.2.1 Portable: The instrument is light in weight, small in size, and easy to carry. All operations can be completed with one hand during measurement.
1.2.2 Digital display shows the force value. The instrument uses LCD to display the measured force value, which makes the reading more convenient.
1.2.3 Switching of multiple units: The instrument can switch 5 units of N, Kg, Lb, Oz, g.
1.2.4 can be set to automatically shut down without operation, automatically shut down when the battery is low.
1.2.5 Ultra-low standby power consumption, long usage time.
1.3 Product Specifications

1.4 Product technical parameters
1.4.1 Accuracy: ± 0.5%
1.4.2 Power supply: AAA battery * 4
1.4.3 Working current is about 30mA
The composition of 1.5 models and their significance

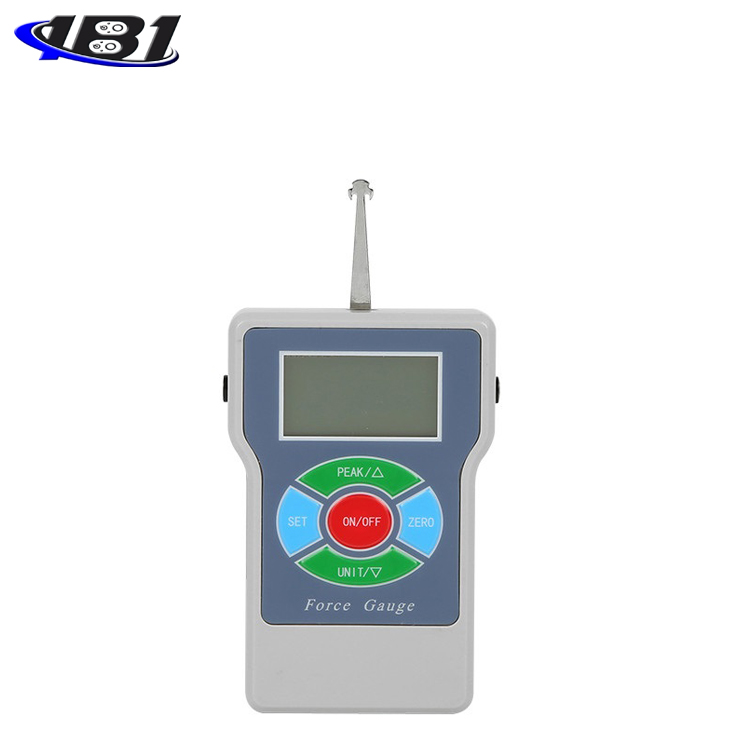
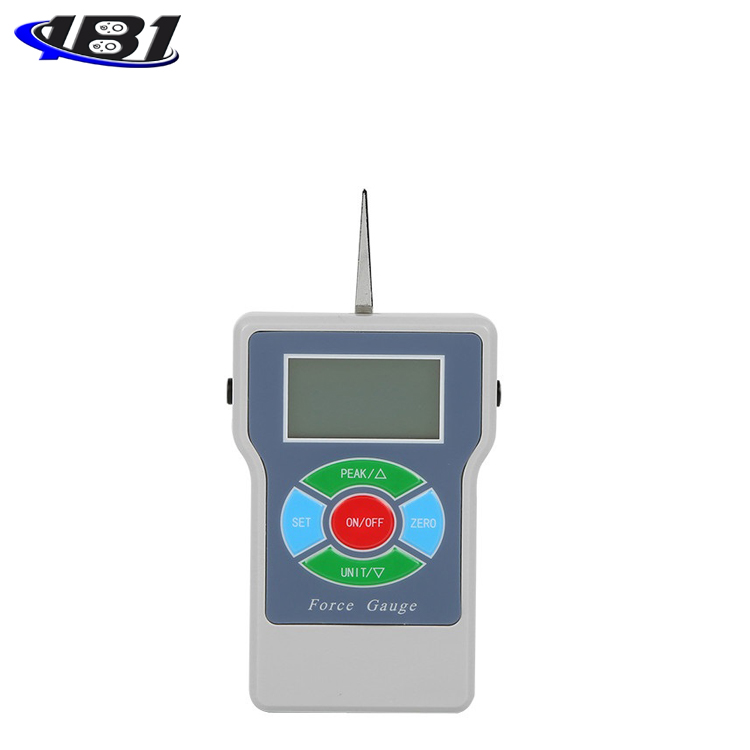
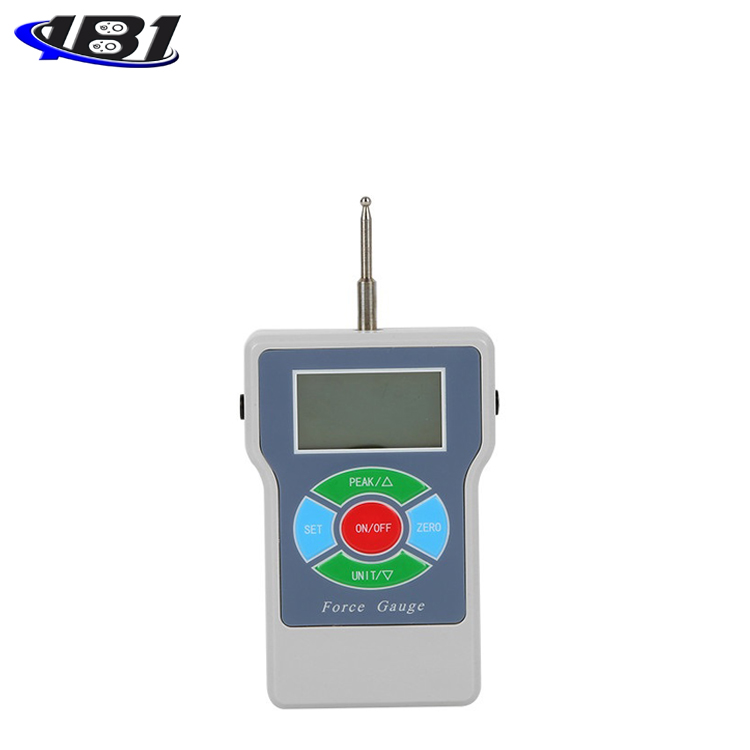
Overall product structure
2.1 Outline structure

2.1.1. Power on / off key: When this key is pressed, the power is turned on or off.
2.1.2. Setting key: The user can enter the setting menu by this key in the measurement interface.
2.1.3 Unit / Down key: Press this key in the measurement interface to switch the unit. After entering the setting interface, it has the function of moving down.
2.1.4. Zero-setting key: In the measurement interface, pressing this key will reset the test value on the screen to zero.
2.1.5. Peak / Up key: Press this key in the measurement interface to switch the peak status. After entering the setting interface, it has the function of moving up.
2.1.6. Clear key: It has the same function as the zero key on the key, which is convenient for users to use during operation.
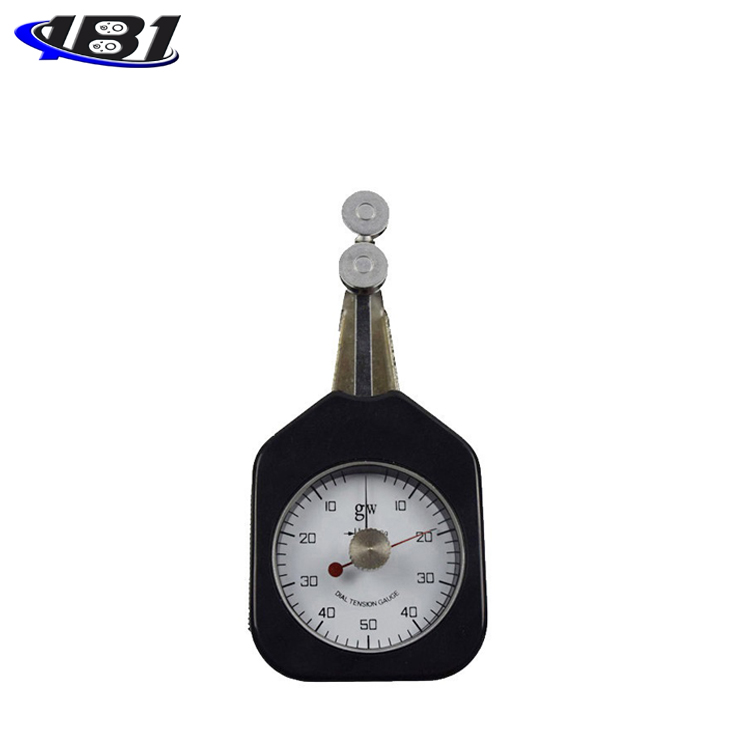
2.1.7 Force measuring rod: measure force value.
Use and operation
3.1 Preparation and inspection before use
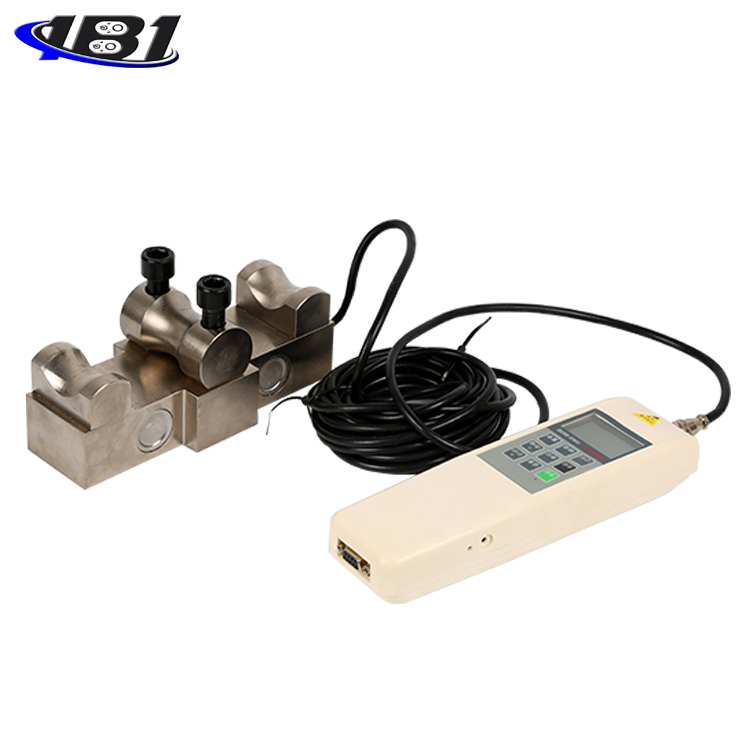
3.1.1. The instrument has no charging function. Before use, check whether the load cell is fixed and whether the sensor responds well.
3.1.2. The new machine has a built-in battery separator. If the new machine cannot be turned on, remove the battery separator at the battery cover and restart it.
3.2 Operation and instructions in use
3.2.1, (HIDT) Upper limit setting: If the upper limit is exceeded during measurement, \"MAX \" appears on the display. After powering on, enter the measurement interface, press \"Settings \" key to enter the setting interface, press \"Settings \" key again to enter the upper limit setting, press \"
 \"Key and \"
 \"Key, select the number you need, press \" set \"key to save, and automatically return to the setting interface. As shown below:

3.2.2, (LODT) lower limit setting: press \"SET \" key to enter the lower limit setting, press \"\"Key and \"\"Key for digital adjustment, select the required value, then press \" SET \"key to save and enter the next function setting, as shown in the figure below:

3.2.3, (OFFT) Automatic shutdown time setting: It can be set to automatically shut down from 1 minute to 100 minutes, or you can set\"0000\" to not shut down. The instrument defaults to 10 minutes. Press \"Settings \" to enter the auto-off time setting. press\"\"Key and \"\"Key to adjust the number, then press \" setting \"key to save.
3.2.4, (RESET) Restore factory settings: Under this setting item, press \"Settings \" key to restore the factory settings, the instrument is turned off, if you use the instrument to restart.
3.3 Test
3.3.1. Turn on the switch.
3.3.2. Select the required setting parameters.
3.3.3. Select the required unit.
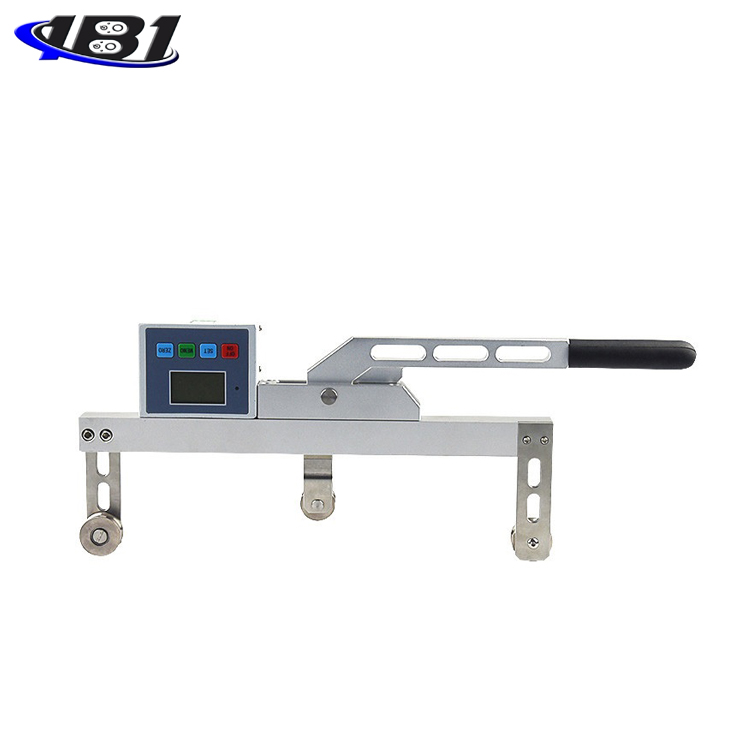
3.3.4. Use a handheld or fixed instrument for testing. When operating the test, just move the object to be tested with a force rod and move it from a stationary state to the required position. During the movement, the surface and role of the object to be tested The direction of the force must always be vertical.
3.3.5 、 Test diagram:

Fourth, maintenance and repair
4.1 Daily maintenance and maintenance
4.1.1. Store and use in a dry environment.
4.1.2. Do not use in overload.
Note: Do not use volatile chemicals to clean the machine (such as volatile agents, thinners, alcohol, etc.)
Five, accessories and options