support hotline
0577-57572522
I. Overview
1.1 Main uses and scope of application
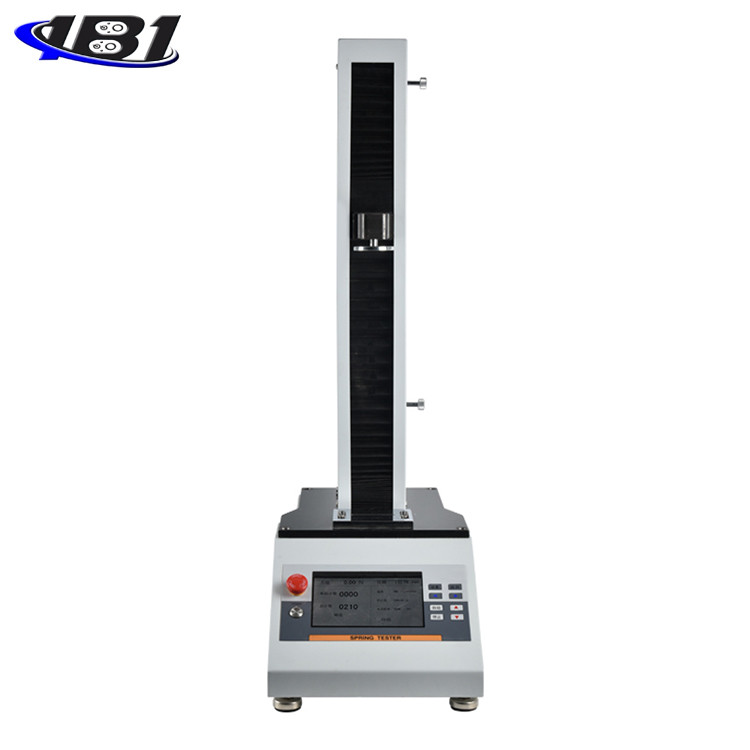
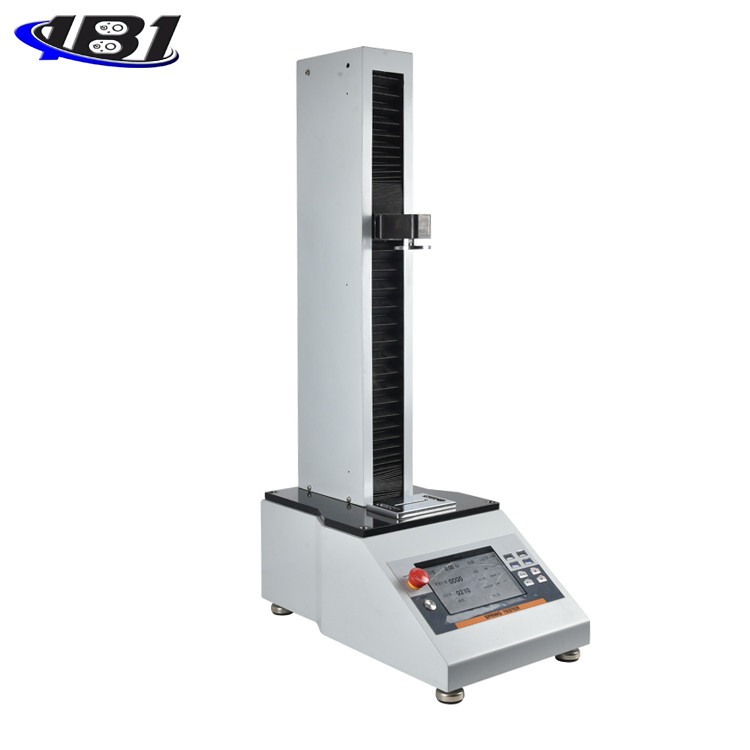
The EL-A integrated testing machine is an integrated testing machine dedicated to testing tensile or compression. It replaces the traditional electric (manual) test machine + digital meter test method, which enhances the accuracy of the test and the convenience of operation. It is suitable for testing of push-pull load, plug-in force, damage test, etc. in rubber plastics, light industrial textiles, building doors and windows, composite materials, wires and cables, auto parts, power machinery, research institutions and other industries.
1.2 Product Features
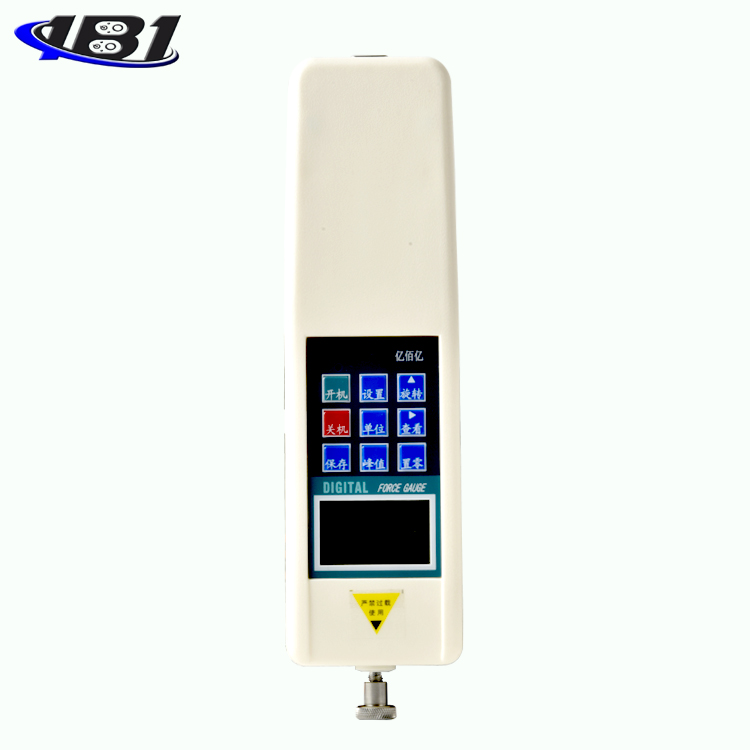
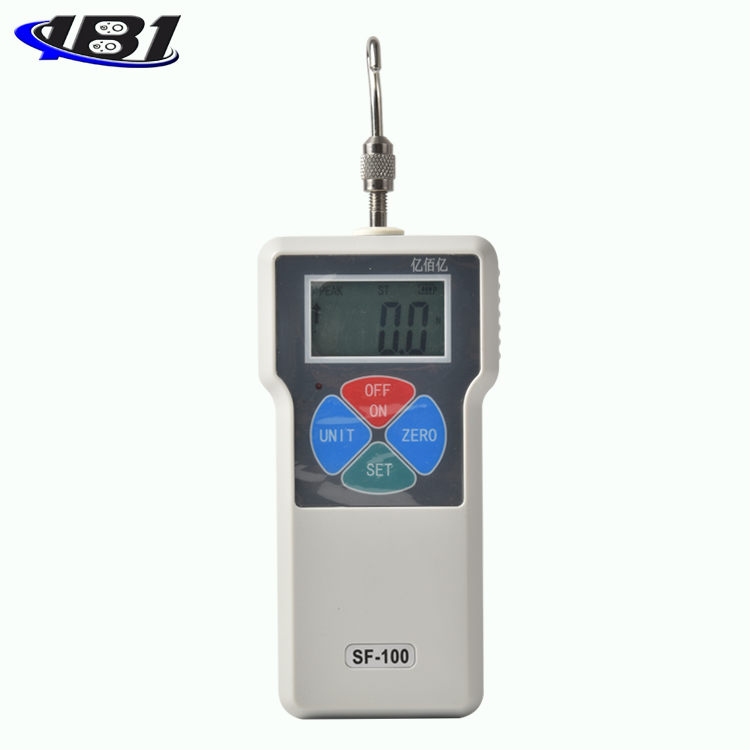
1.2.1 7-inch large-screen LCD display;
1.2.2 Real-time force value and displacement display;
1.2.3 Two measurement modes: real time / peak;
1.2.4 Two working modes: automatic / manual;
1.2.5 Human-machine Chinese dialogue is intuitive and clear;
1.2.6 Have continuous increase / decrease speed function;
1.2.7 With emergency stop function.
Product model specifications
Third, the overall structure of the product
|
Type |
EL-A-10 |
EL-A-30 |
EL-A-50 |
EL-A-100 |
EL-A-300 |
EL-A-500 |
EL-A-1000 |
|
Maximum negative Charge |
10N |
30N |
50N |
100N |
300N |
500N |
1000N |
|
1kg |
3kg |
5kg |
10kg |
30kg |
50kg |
100kg |
|
|
2.2Lb |
6.5Lb |
11Lb |
22Lb |
65Lb |
110Lb |
220Lb |
|
|
Load point Degree value |
0.001N |
0.01N |
0.01N |
||||
|
0.0001kg |
0.001kg |
0.01kg |
|||||
|
0.0001Lb |
0.001Lb |
0.01Lb |
|||||
|
Effective travel |
500mm |
||||||
|
Test speed |
1-300mm / min |
||||||
|
Operating Voltage |
AC: 110V or AC: 220V |
||||||
|
Dimensions |
290mm * 500mm * 900mm |
||||||
|
net weight |
36.6kg |
||||||
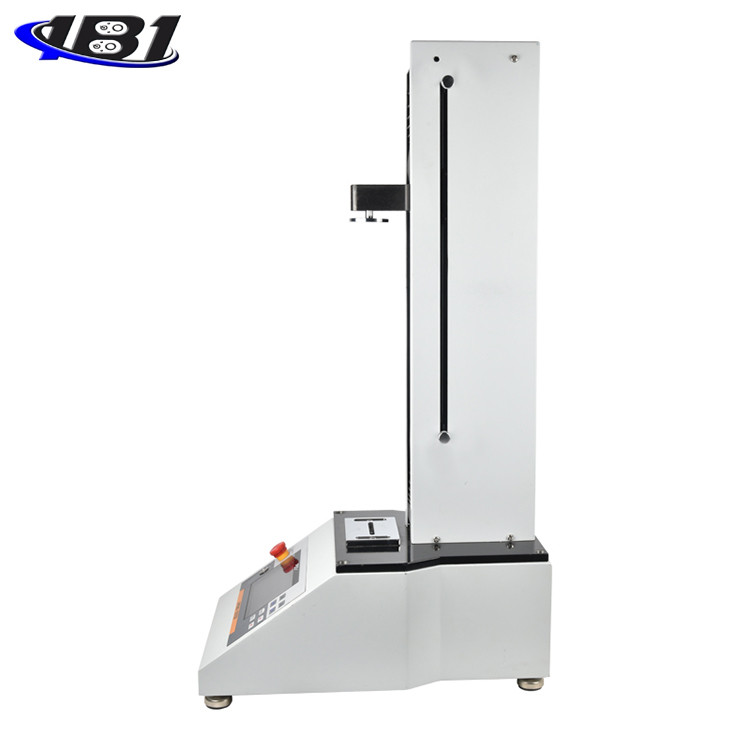
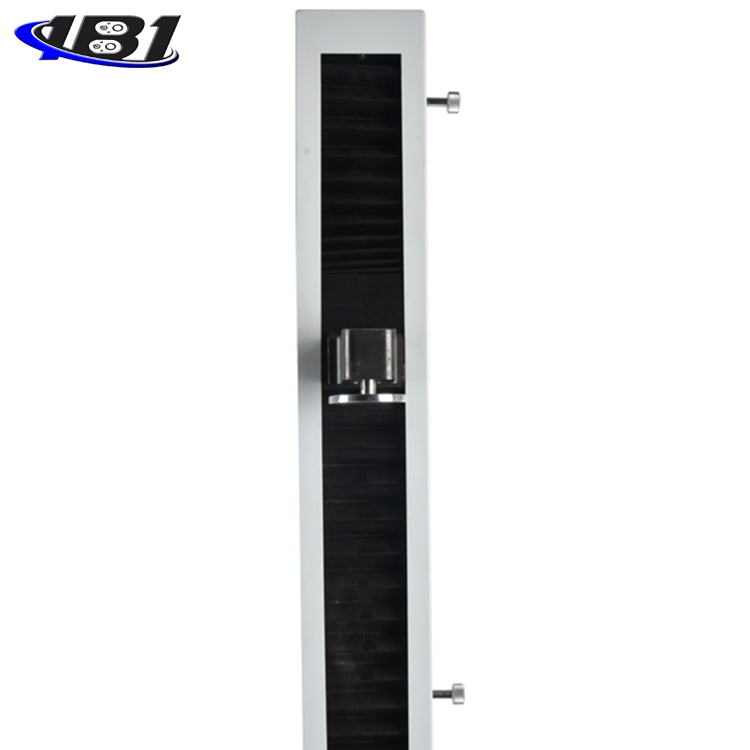
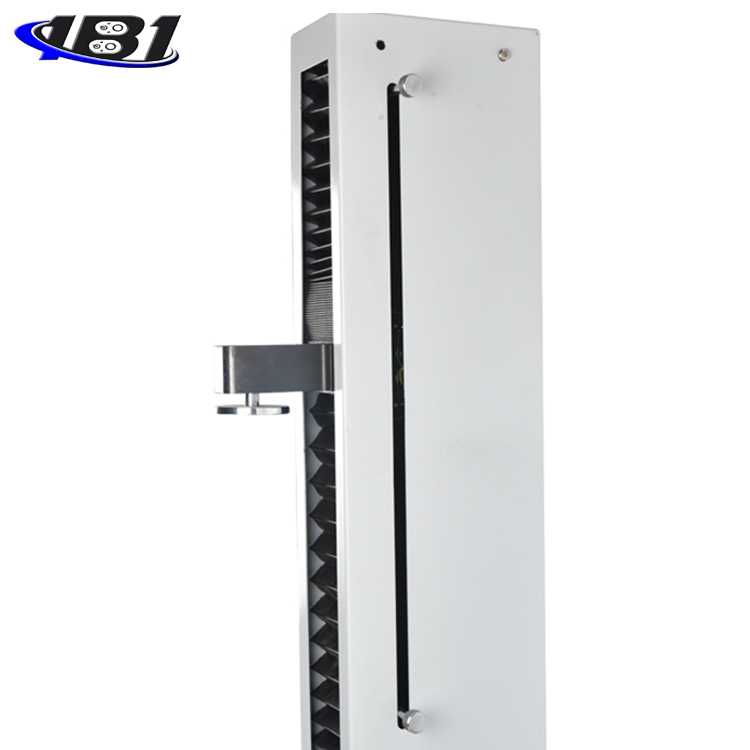
3.1 Exterior structure
3.2 Key description
3.2.1 Emergency stop button: When an emergency occurs, the user can press the emergency stop button to cut off the power and stop the instrument. To restart the machine, turn the emergency stop button to the right and release it, and then press the power button to start.
3.2.2 Power button: On / off key. With the power on, press the button to turn on the instrument; press it again to turn off the instrument.
3.2.3 Setting key: Long press this key for 4 seconds in the measurement interface to release it to enter the system setting interface; short press to switch the real-time / peak mode.
3.2.4 Return key: clear / return. Press this key in the measurement interface to clear the force value; long press this key for 4 seconds to release it to clear the current displacement; press this key in the setting interface to return to exit.
3.2.5 ◀ (left) key: deceleration. Short press this key, the \"speed\" of the measurement interface will decrease by 1mm; long press this key for 4 seconds to release, the \"speed\" of the measurement interface will decrease continuously; in the system setting interface, press You can select the number of digits.
3.2.6 ▶ (right) key: Acceleration. Short press this key, the \"speed\" of the measurement interface will increase by 1mm; long press this key for 4 seconds to release, the \"speed\" of the measurement interface will increase continuously; in the system setting interface, press this key to select Number of digits.
3.2.7 Auto key: Auto run key. Press this key once to start the automatic operation mode and a tick will be ticked in the automatic box.
3.2.8 Stop key: In automatic mode, press this key once, the active block will stop running; long press this key for 4 seconds and then release it to switch between three units (N, Kgf, Lbf switch each other). In the system setting interface, it can be used to switch the setting items.
3.2.9 ▲ (Up) key: Run up. Press this key once, the active block will move up by one \"step distance\"; long press this key for 4 seconds to release, the active block will run upward until it hits the upper limit screw; in the system setting interface, this The key can be used to set the value.
3.2.10 ▼ (down) key: Run down. Press this key once, the active block will move down by one \"step distance\"; long press this key for 4 seconds to release, the active block will run downwards until it hits the lower limit screw; in the system setting interface This key can be used to set the value.
Fourth, use and operation
4.1 Operation and instructions in use
4.1.1 Measurement interface
4.1.2 Setting interface
In the measurement interface, press and hold the\"\" Setup\"\" key for 4 seconds, then enter the\"System Settings\", as shown in the figure below:![]()
a. Total count: preset value, which can be set within the range of 1 ~ 9999. For example, the user performs continuous tests on a certain product. The number of tests is set to 505 times. Press the\"\" Auto\"\" key in the measurement interface to perform 505 tests. The instrument automatically stops after 505 times of operation. The total count is only for automatic Mode; after user settings are completed, press the\"\" Settings\"\" key to save, then press the\"\" Back\"\" key to exit.
b. Stop value: For automatic mode, the maximum value can be set to 120% of full scale. For example: Set the stop value to\"\" 1200N \", when the detection force value reaches 1200N, the instrument will automatically stop running; after the user setting is completed, press the\"\"Setting\"\"key to save, and then press\"\"Return \" Key to exit. If the detection force value reaches the stop value in the automatic mode, the instrument will stop running and exit the automatic mode.
c. One-step distance: In manual mode, press the\"\" ▲ \"or \" ▼ \"key once, the active block will move up or down by one\"\"one-step distance\", and the single-step distance can be set to 0.01 ~ 10mm . After the user settings are completed, press the\"\" Settings\"\" key to save, and then press the\"\" Back\"\" key to exit.
4.2 Operation steps
4.2.1 Automatic mode
a. Make sure the power cord is connected.
b. Turn on the power button.
c. Select the measurement mode (real-time or peak).
d. Press and hold the\"Setting\" key for 4 seconds to enter the system setting interface, and set the total count and stop value.
e. Return to the measurement interface. After selecting the automatic mode, the user can press \"▲ \" or \"▼ \" to start detection.
f. If the user presses the \"▲ \" key to start the test, the instrument will perform upward motion detection, and it will automatically detect the downward motion after touching the limit screw. At this time, the instrument moves from top to bottom for a test round and a test After the round, the current count will increase by\"\" 1 \". If you press \"▼ \" first, the operation rules are as above.
g. Stop conditions in automatic mode: ①, the test force value reaches the\"stop value\"; ②, the test number reaches the\"total count\".
4.2.2 Manual Mode
a. Make sure the power cord is connected.
b. Turn on the power button.
c. Select the measurement mode (real-time or peak).
d. Press and hold the\"Setting\" key for 4 seconds to enter the system setting interface and set the single step distance.
e. Return to the measurement interface, press \"▲ \" or \"▼ \" to start the test.
V. Daily maintenance and maintenance
5.1 The environment should be kept clean to prevent liquids, iron filings and other substances from entering the instrument and damaging the electronic components.
5.2 Please clean the instrument with a soft cloth, immerse the cloth in water soaked with detergent, wring it dry, then remove dust and dirt.
Note: Do not use volatile chemicals to clean the instrument (such as volatile agents, thinners, alcohol, etc.).
5.3 Do not operate the machine in the following environments
a, humid environment
b. Dusty environment
c. Where oil or chemicals are used
d. Places with earthquake sources around
5.4 When not in use for a long time, unplug the power plug and do dustproof and moistureproof treatment.
Six, random attachments
|
1 |
Machine |
1 set |
|
2 |
Power cord (Europe / Chinese placed one) |
1 |
|
3 |
Manual |
1 serving |
|
4 |
Certificate and warranty card |
1 piece |
|
5 |
Desiccant |
1 package |
|
6 |
AJJ-023 Fixture |
2 |
|
7 |
Hex nut M6 |
2 |
|
8 |
Double-headed screw M6 * 45 |
2 |
|
9 |
Hexagon socket screw M6 * 16 |
4 |
|
10 |
Allen key M6 |
1 |