support hotline
0577-57572522
I. Functions:
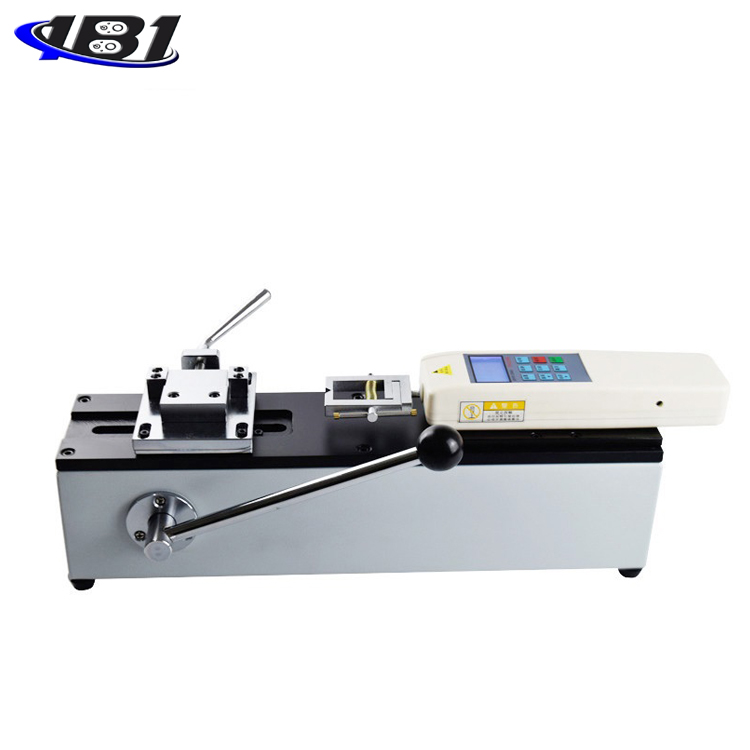
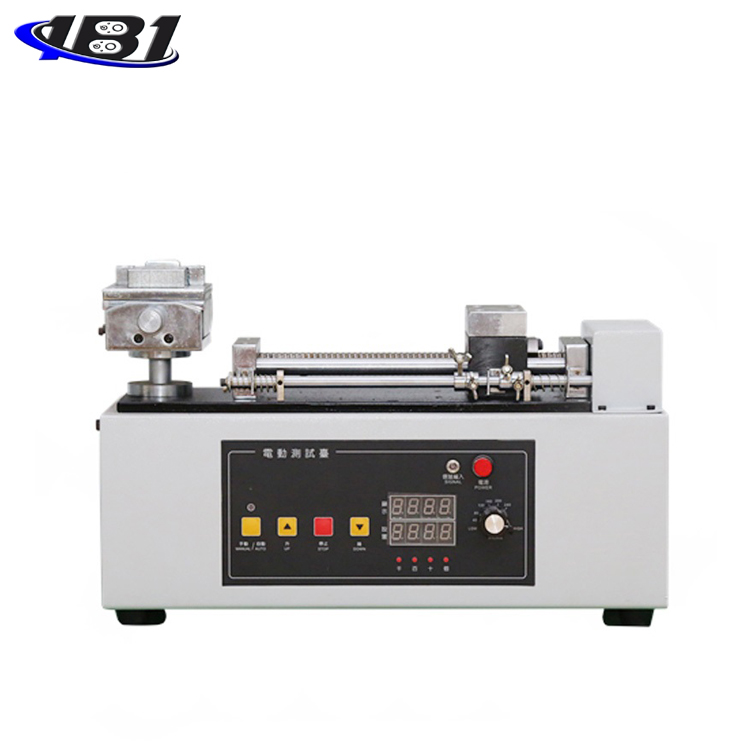
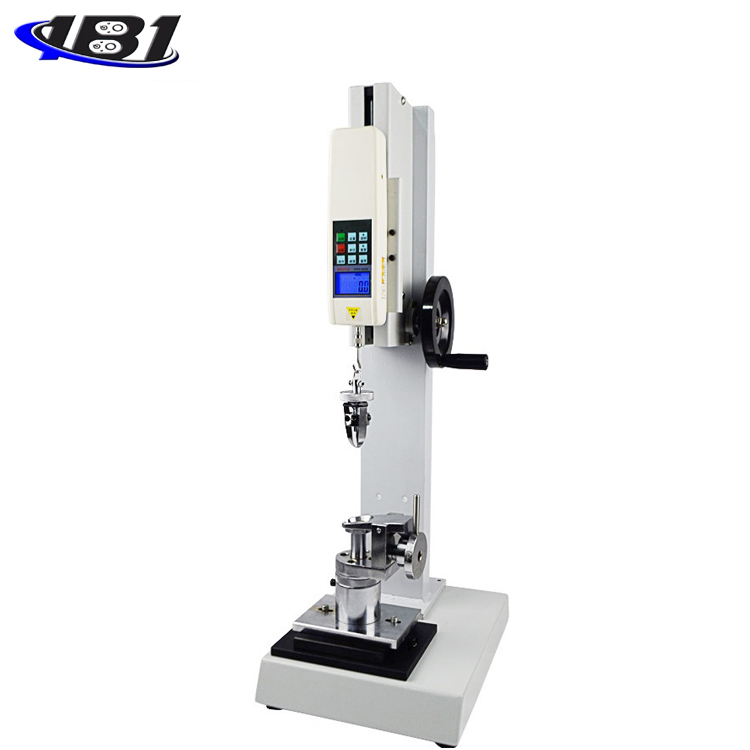
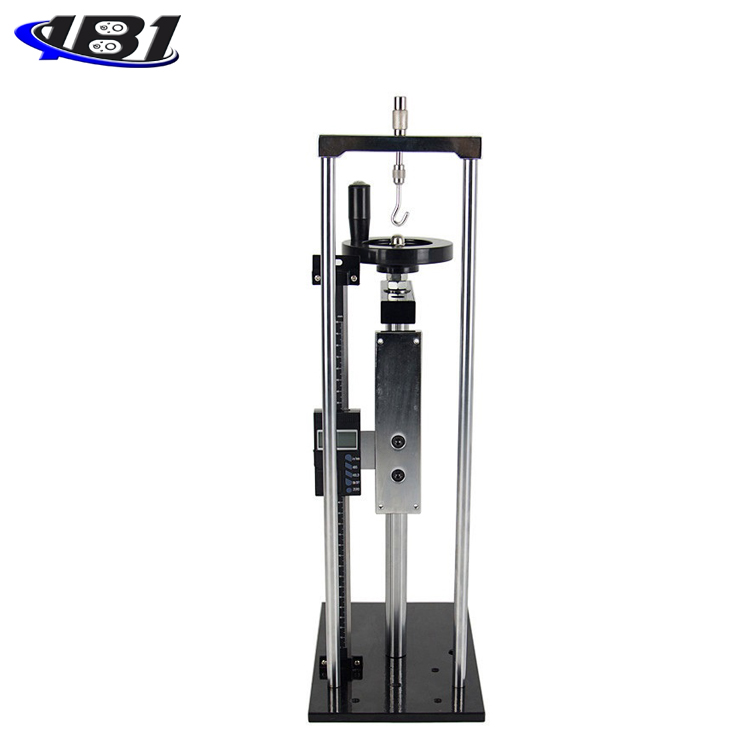
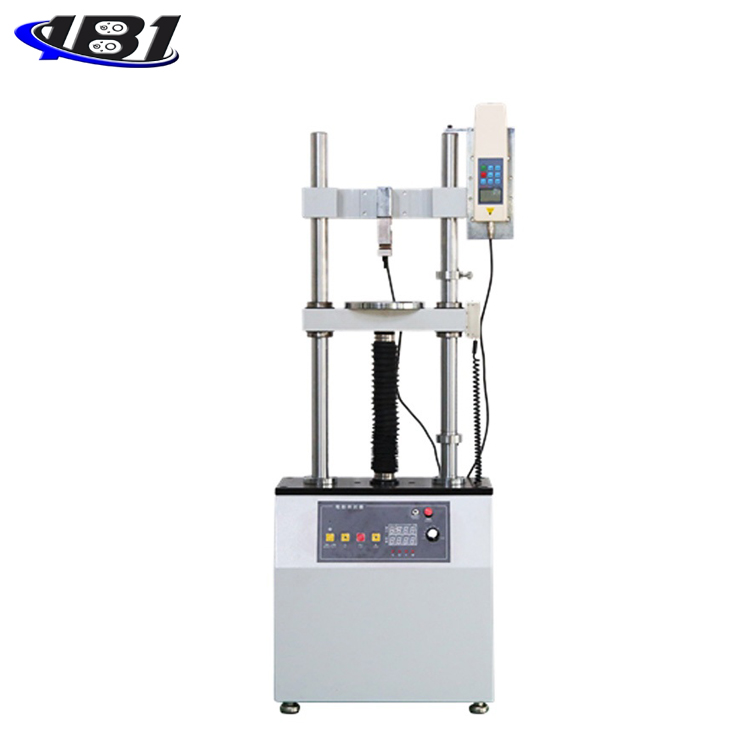
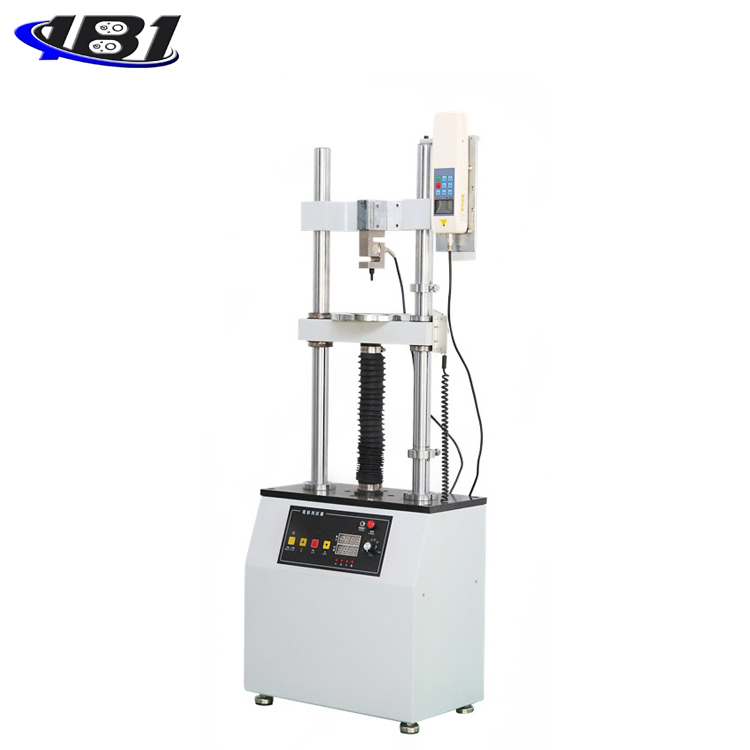
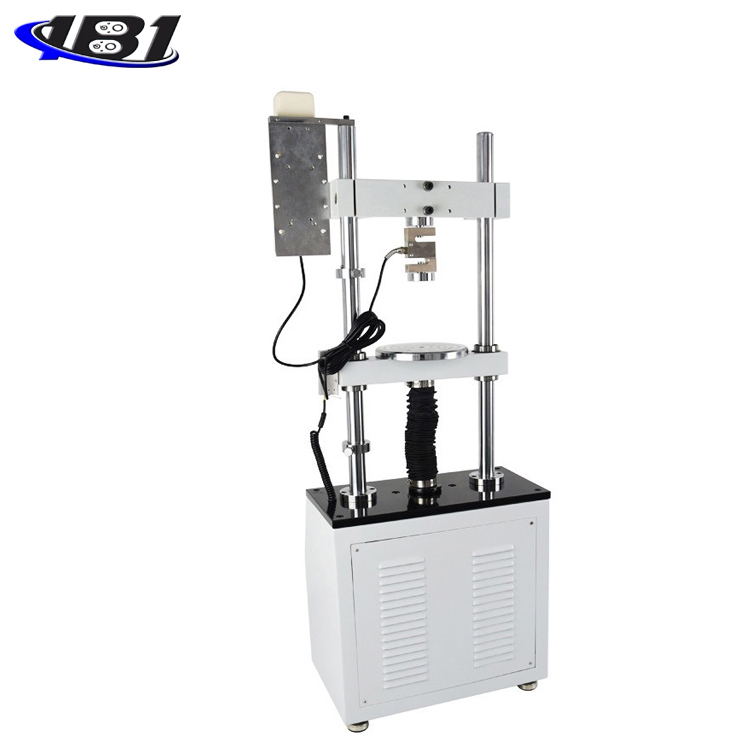
EEV electric vertical machine is a push-pull load test bench specially designed for HF series and NK series push-pull gauges. This product adopts double pole structure, which has the advantages of good stability, wide application range, convenient use, etc., and has stepless speed adjustment, manual (jog), automatic control switching functions. It is suitable for testing of push-pull load, plug-in force, damage test, etc. in rubber plastics, light industrial textiles, building doors and windows, composite materials, wires and cables, auto parts, power machinery, research institutions and other industries.
Features:
1.Electric loading, stepless speed regulation, gear transmission;
2. Compact structure and stable transmission;
3. Simple operation and can be used in combination with various fixtures.
Specifications:
|
model |
EV-5000 |
EV-5000 (higher type) |
EV-10000 |
EV-20000 |
EV-30000 |
|
Maximum load |
5000N |
10000N |
20000N |
30000N |
|
|
Effective travel |
220mm (can be customized 220mm-1000mm) |
||||
|
Test speed |
15-240mm / min |
||||
|
Operating Voltage |
AC220V |
||||
|
Overall dimensions mm |
400x250x1050 |
400x250x1300 |
430x250x1160 |
||
|
net weight |
56kg |
60kg |
About 65kg |
||
Fourth, the structure diagram:
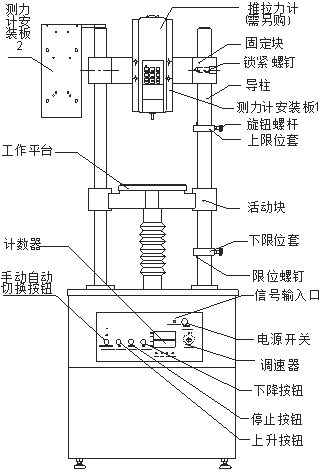
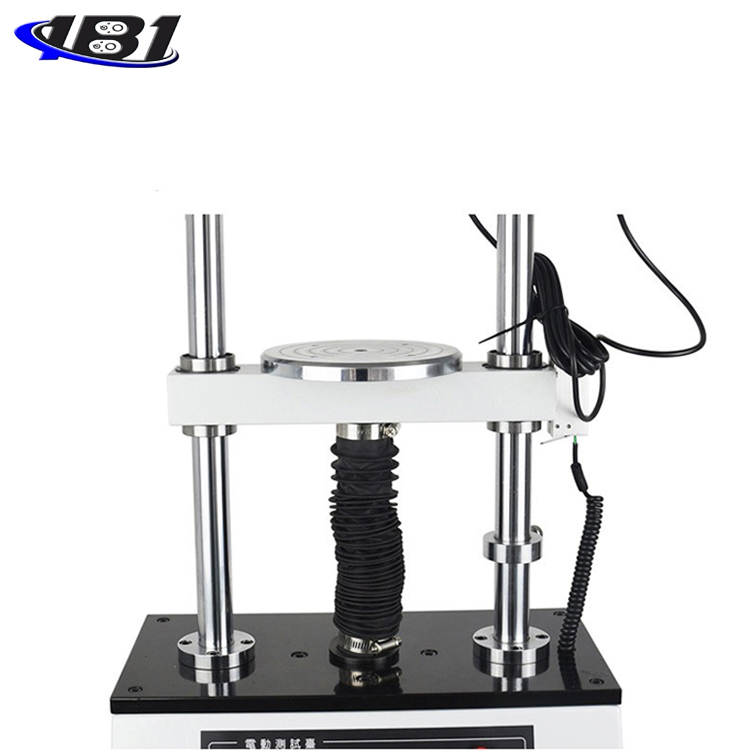
Five, dynamometer installation method:
1. Built-in sensor: Pass 4-M6 screws into the 4-φ6.2 holes of the fixing block, insert a washer in the thread direction, and tighten with the 4-M6 thread on the dynamometer mounting plate 1. On the dynamometer mounting plate 1, the dynamometer mounting holes are divided into two groups, namely 30x145 and 40x90. Users can determine according to their needs;
2. External sensor type: first remove the meter mounting plate 1, then thread the 2-M8 screw into the 2-φ8.5 hole of the fixing block, so that the external sensor connecting block is firmly connected to the fixing block, and the M12 nut is threaded into The connection rod can pass through the hole and be firmly connected with the sensor. The control system can be installed on the dynamometer mounting plate 2.
Six, dynamometer height adjustment:
There are two locking nails on each side of the EEV test bench fixing block. First, loosen the locking nails, then move the fixing block up or down to the required height, and then lock the locking screws.
Seven, stroke adjustment:
There are two travel limit screws on the guide post (Note: the limit screws are not allowed to be removed), the limit sleeve is only allowed to move within the travel range, and the position of the limit sleeve is adjusted according to the user's measurement needs to achieve the purpose of use.
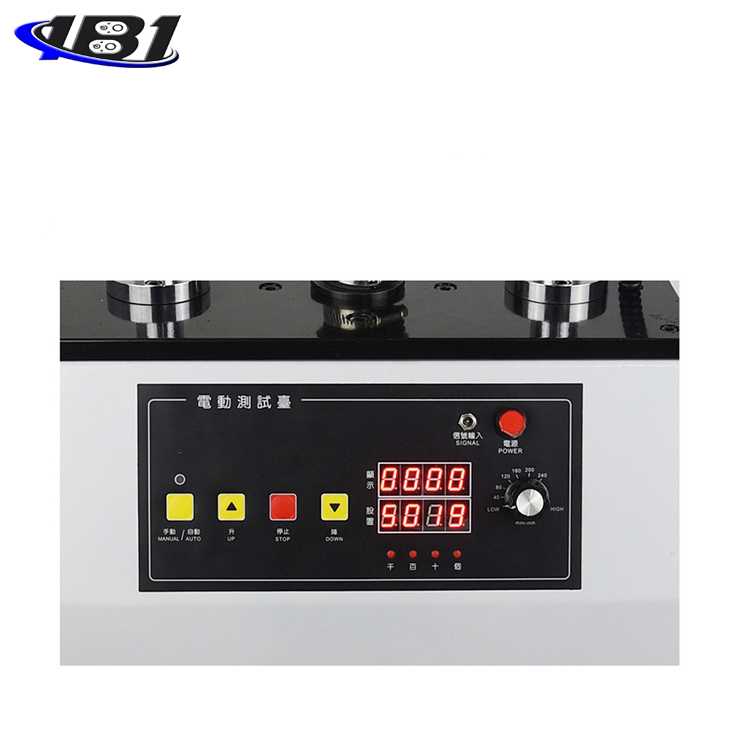
How to use the control panel:
1. Power switch: when the button is pressed, the power is turned on, and when pressed again, the power is turned off;
2. Speed governor: Control the moving speed of the movable block within the adjustment range of 0 ~ 240mm / min, the user can choose the appropriate moving speed according to their respective requirements;
3. UP key: make the working platform move upwards;
4. STOP key: Stop the work platform from moving;
5. DOWN button: make the working platform move downwards;
6. Manual / automatic switching key: A. When the key is switched to manual, if you want to make the working platform move, you need to press the UP button or press the DOWN button. When you release the UP button ) Or DOWN button to stop the movement; B. When the button is switched to automatic, if you want to make the work platform move, directly press the UP or DOWN button to make continuous back and forth movement, press Stop (STOP) button is for dynamic stop;
7. How to use the counter: There are two lines of digital display on the counter. The upper part is for recording the number of tests (that is, the number of real-time measurements). The lower part is the preset button. There are 4 buttons in total, from left to right. Thousand means that the preset setting can be set within the range of 0 ~ 9999 (the preset setting is an arbitrary setting). For example, if the user performs continuous tests on a product, the number of tests is 9999, which needs to be adjusted on the 4 buttons respectively to the display of 9999, and then press the manual / automatic button to test 9999 times. Stop, if you need to test again, just press the stop button.
Nine, matters needing attention:
The power supply of the equipment must have a ground wire (the ground resistance must be ≤ 4 ohms).
X.Warranty:
At the time of testing, the micro switch is guaranteed within 100,000 times.If it is used more than the number of times, the above accessories will be charged for cost.