support hotline
0577-57572522
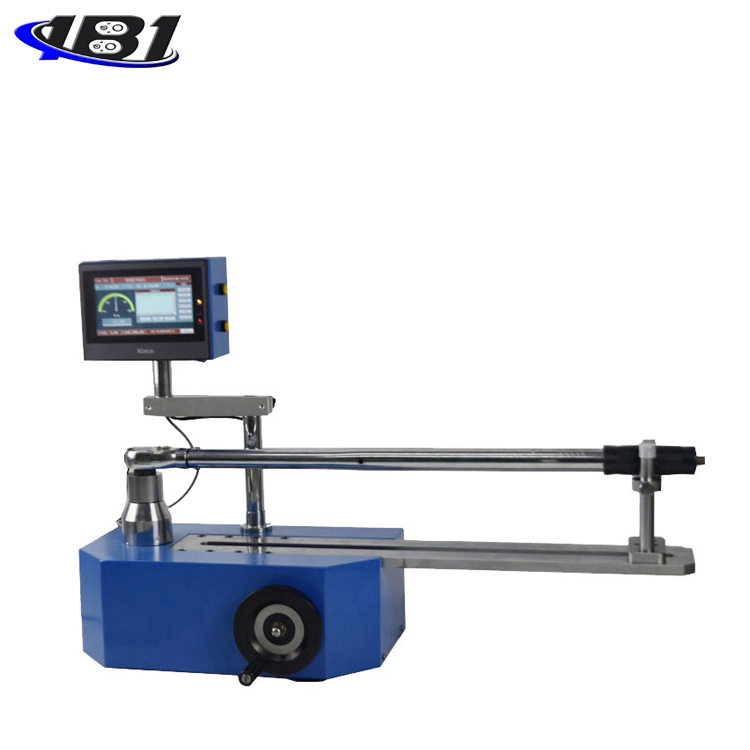
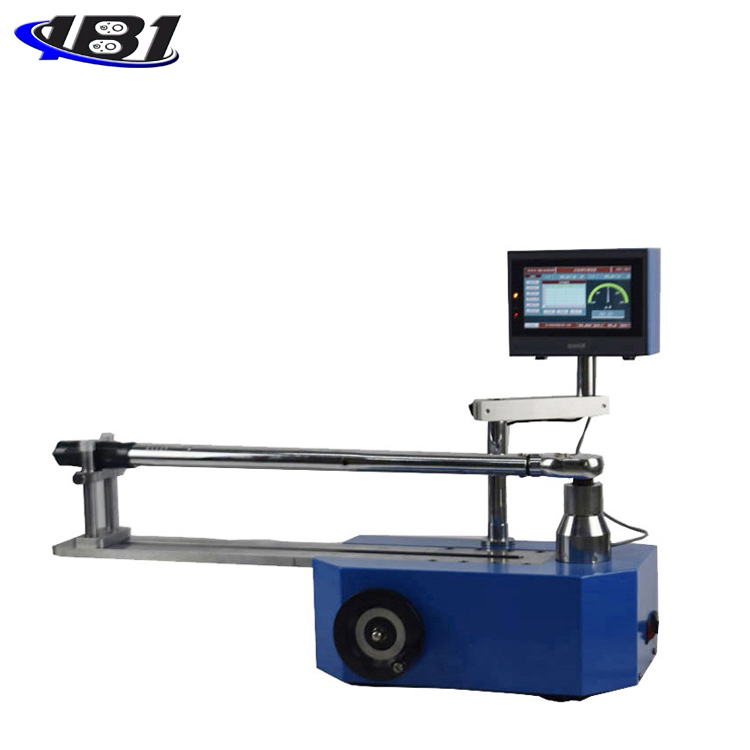
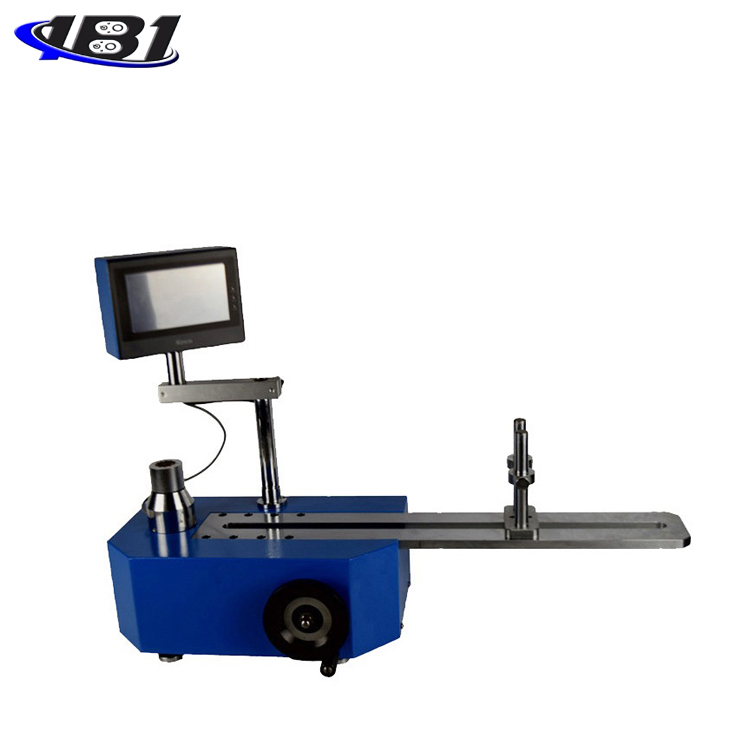
I. Use
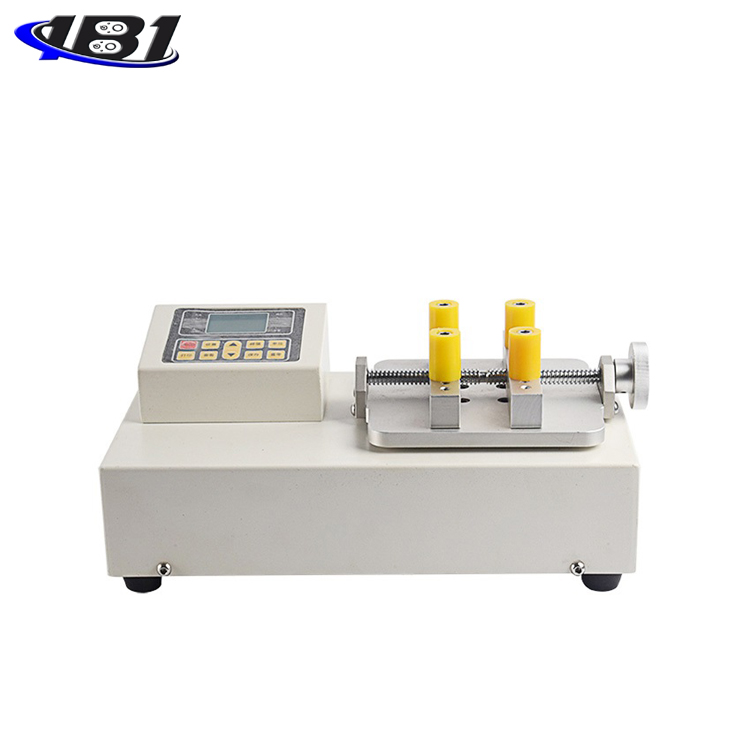
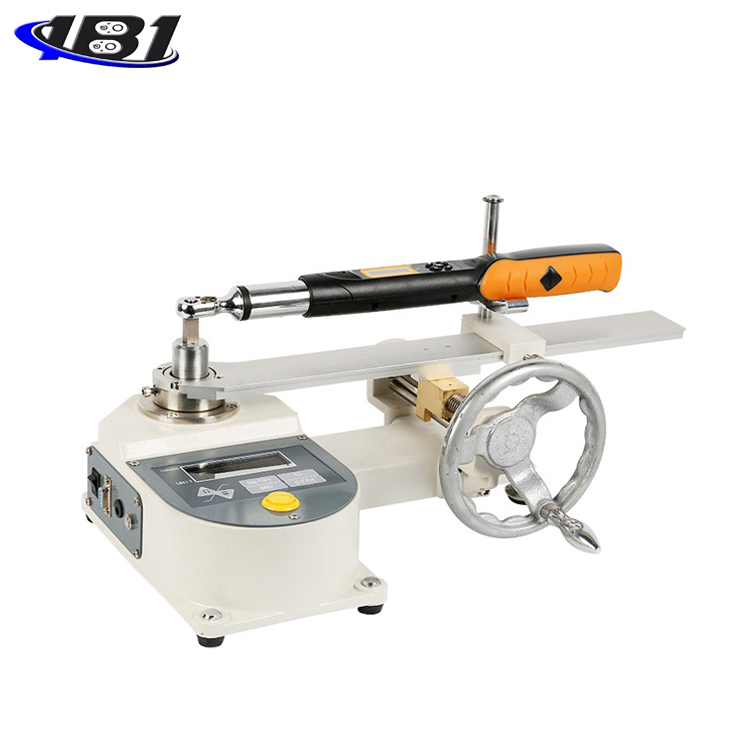
Torque wrench tester is a special equipment for testing torque wrenches and torque screwdrivers. It is mainly used to test various torque wrenches, digital torque wrenches, and preset torque wrenches. Widely used in electrical manufacturing, machinery manufacturing, automotive light industry and professional scientific research and testing industries. Digital display of torque force and instrument type, accurate and intuitive, simple preparation of various mortises, easy to clamp.
Second, the functional characteristics
1. High precision, high resolution and fast sampling speed.
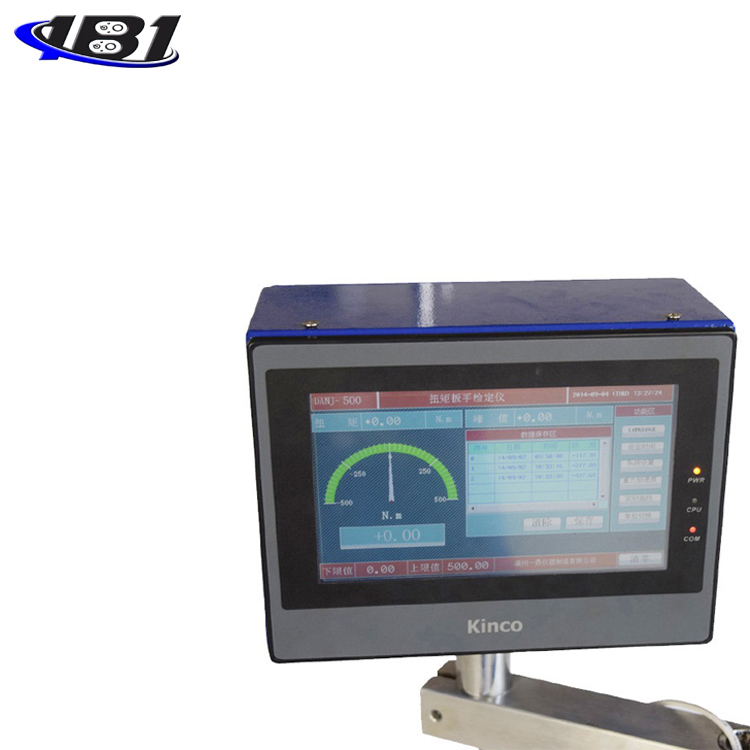
2. Instrument display, curve display, curve zoom function, full touch screen display.
3, using high-precision torque sensor with torque direction display.
4, the upper and lower limits can be set, red font prompts and buzzer alarm.
5. The three types of units can be converted to each other for selection (N · m, kgf · cm, lbf · in).
6. Real-time and peak mode can be switched at will.
7. System time can be set.
8. Store a large amount of data in the form of a USB flash drive.
Specifications
|
model index |
100 |
200 |
300 |
500 |
1000 |
2000 |
3000 |
|
|
measuring range / Minute Degree value |
N · m |
100.0 / 0.01 |
200.00 / 0.01 |
300.00 / 0.01 |
500.00 / 0.01 |
1000.0 / 0.1 |
2000/0.1 |
3000/0.1 |
|
Kg · cm |
1021.0 / 0.1 |
2042.0 / 0.1 |
3063.1 / 0.1 |
5105.2 / 0.1 |
10210/1 |
20420/1 |
30631/1 |
|
|
Ib · in |
886.2 / 0.1 |
1772.4 / 0.1 |
2658.6 / 0.1 |
4431.1 / 0.1 |
8862/1 |
17724/1 |
26586/1 |
|
|
Dimensions |
880mm × 350mm × 550mm |
1250mm × 500mm × 800mm |
||||||
|
Tested length range |
130mm ~ 750mm |
250mm ~ 980mm |
250mm ~ 1800mm |
|||||
|
Rotation angle |
0 ~ 60 ° |
0 ~ 360 ° |
||||||
|
Height stroke |
130mm |
150mm |
||||||
|
Precision |
± 1% |
|||||||
|
Peak sampling frequency |
2000HZ |
|||||||
|
power supply |
AC220V / 50Hz |
|||||||
|
Net Weight |
65Kg |
335kg |
||||||
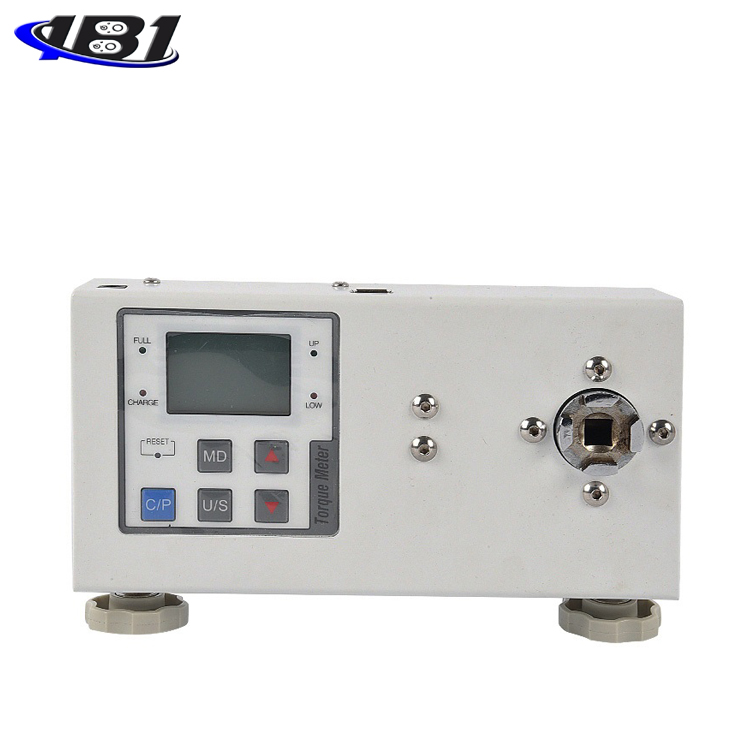
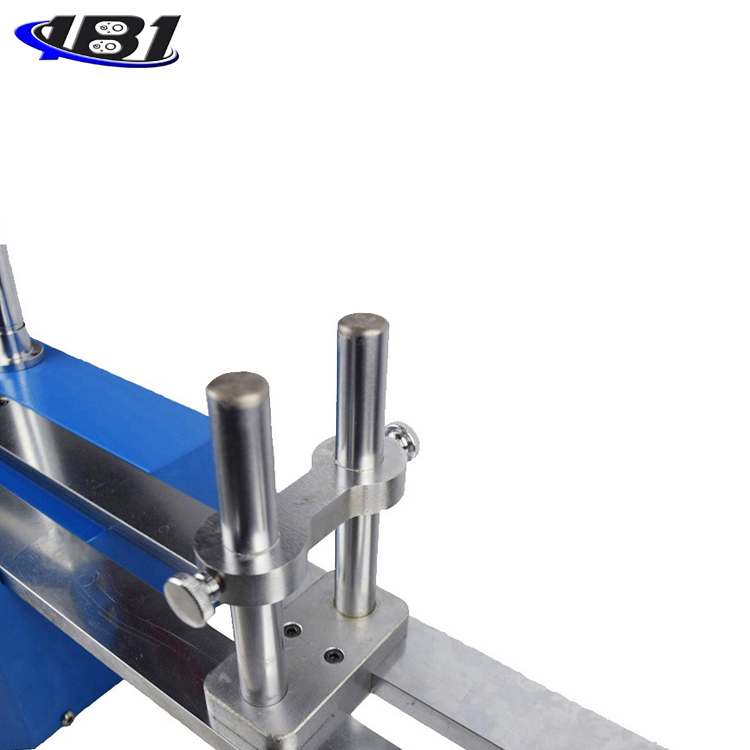
Fourth, the name and function of each component
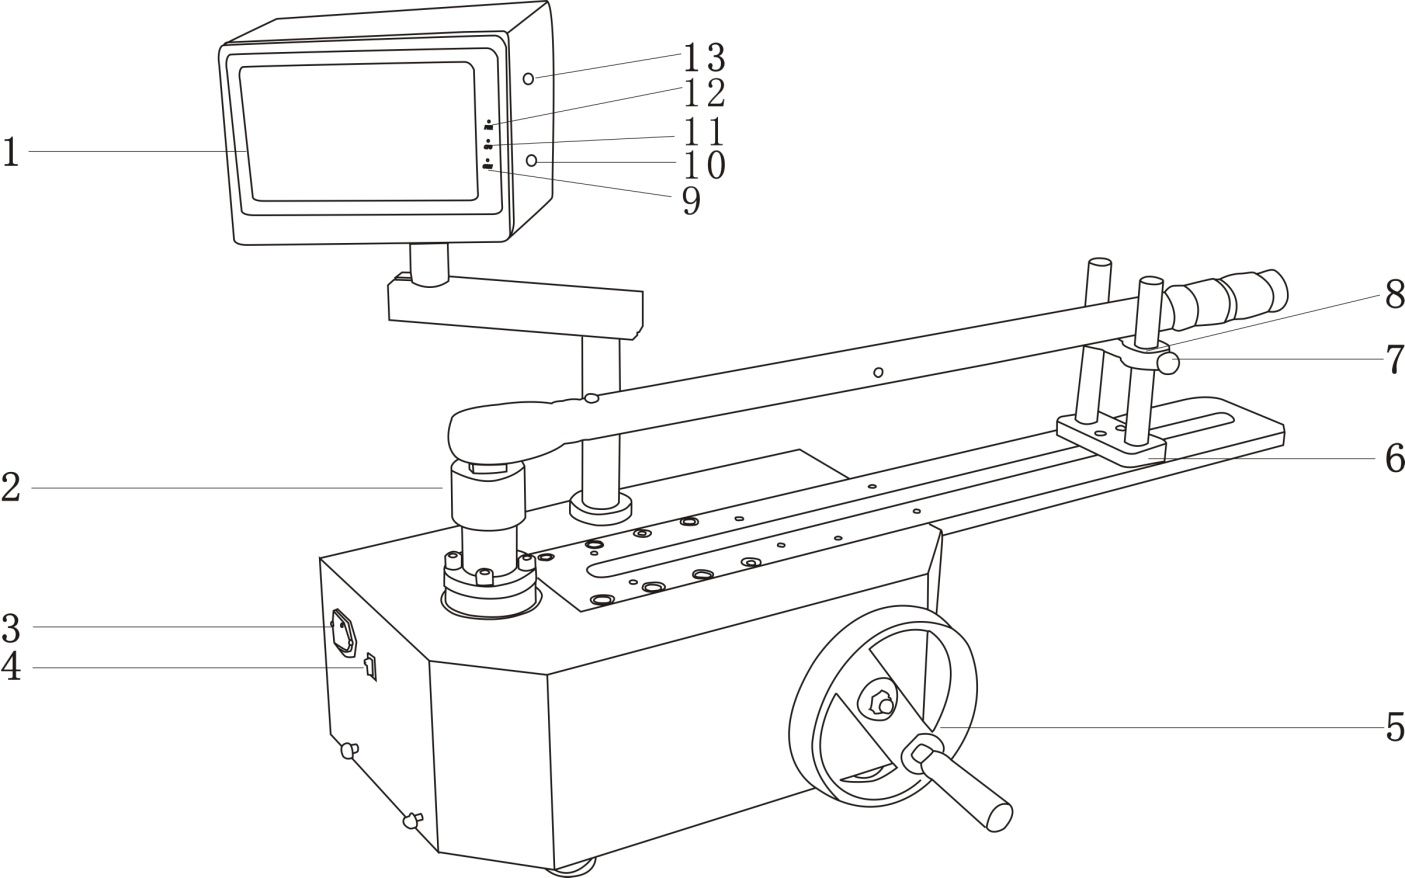
1. LCD touch screen 8. Height adjustment block
2. Mortice 9. Window indicator
3.Power interface10.Zero key
4.Hard switch 11.CPU indicator
5.Handwheel 12.Power indicator
6, length adjustment block 13, LCD screen switch
7, height adjustment nut
1.LCD touch screen
a. Enter the measurement interface
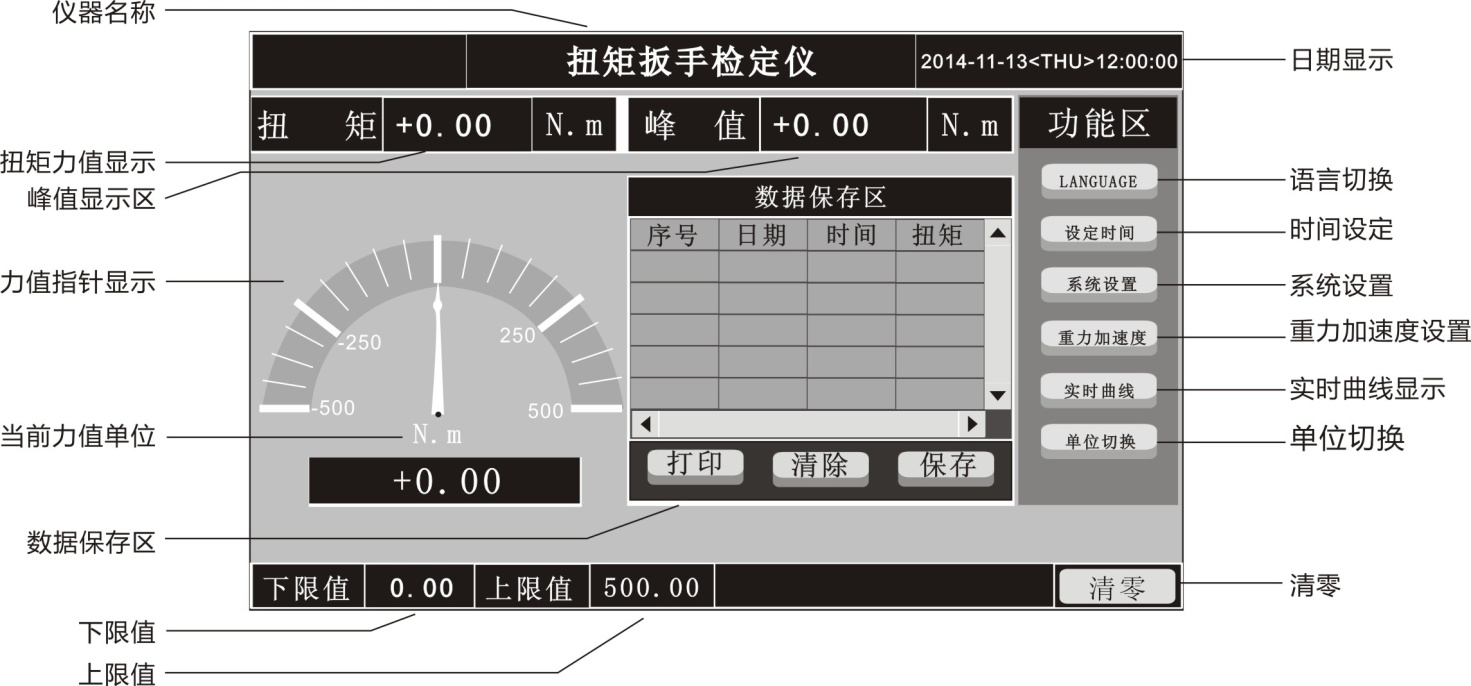
2. Function buttons
a, \"LANGUAGE \" key: language switch key, press to switch between Chinese and English.
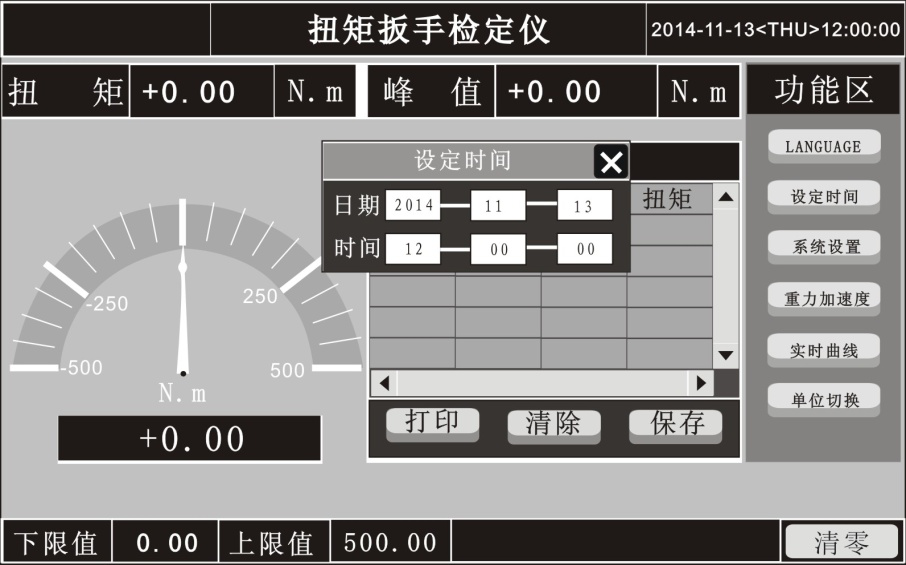
b. \"Set time \" key: Time setting key. Pressing it will bring up a\"\" Set time \"dialog box, you can freely modify the date and time, as shown below:
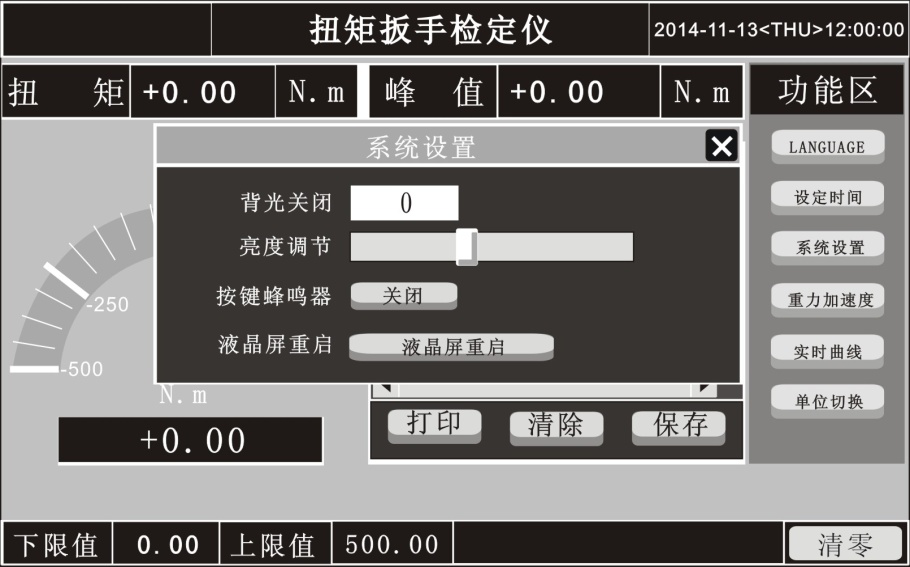
c.\"System Settings\" key: includes 4 functions:\"backlight\",\"screen brightness\",\"key buzzer\",\"LCD screen restart\".
As shown below:
\"Backlight off \" setting: Click on the box of \"Backlight off \", the box as shown below will appear:
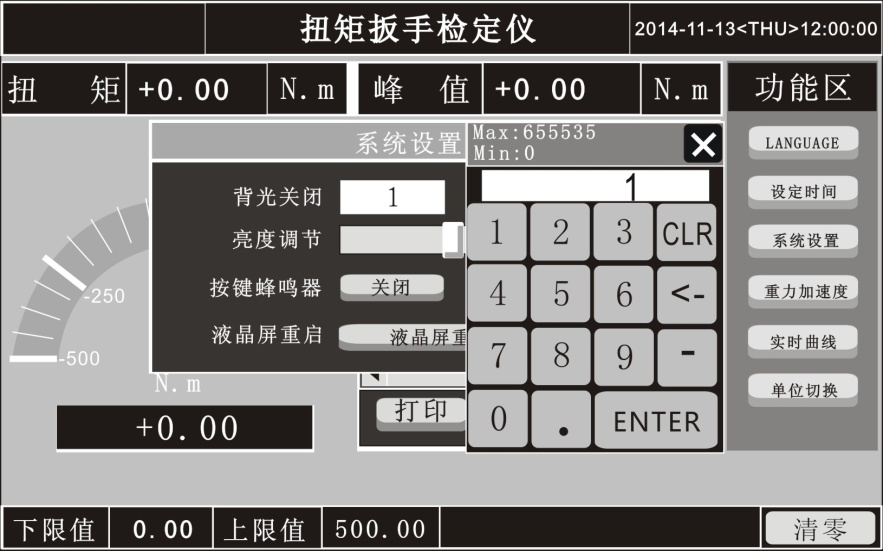
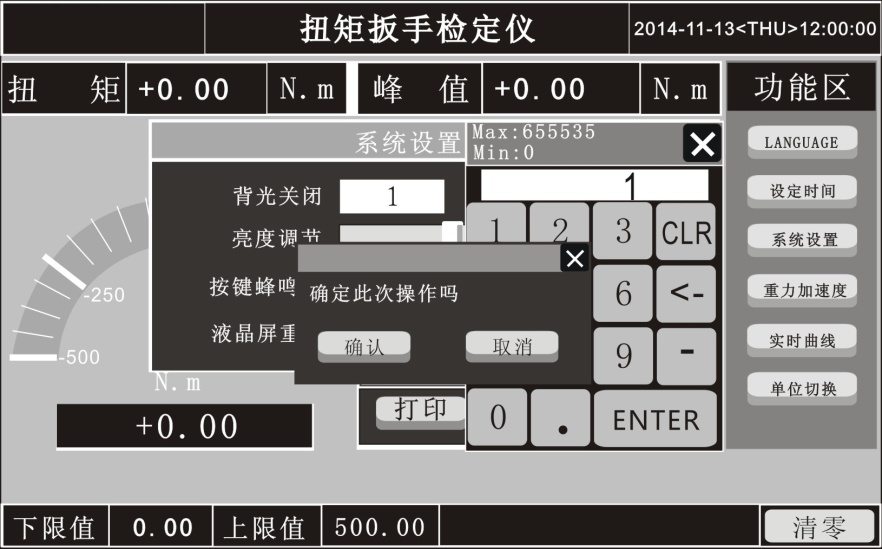
Feel free to enter the number you want to set, for example: \"1 \" (here the time unit is minute), the dialog box has: \"Max: 655535, Min: 0 \", which means that the maximum number entered is \"655535 \", the minimum is \"0 \", press \"ENTER \" again, a new dialog box will appear, press OK to set it. As shown below:
\"Key buzzer \": After pressing \"Close \", the key sound will be canceled.
\"LCD screen restart \": After pressing \"LCD screen restart \", the screen will restart.
d. “Gravity Acceleration” key: Set “Gravity Acceleration”. Pressing it will bring up a dialog box, as shown below:
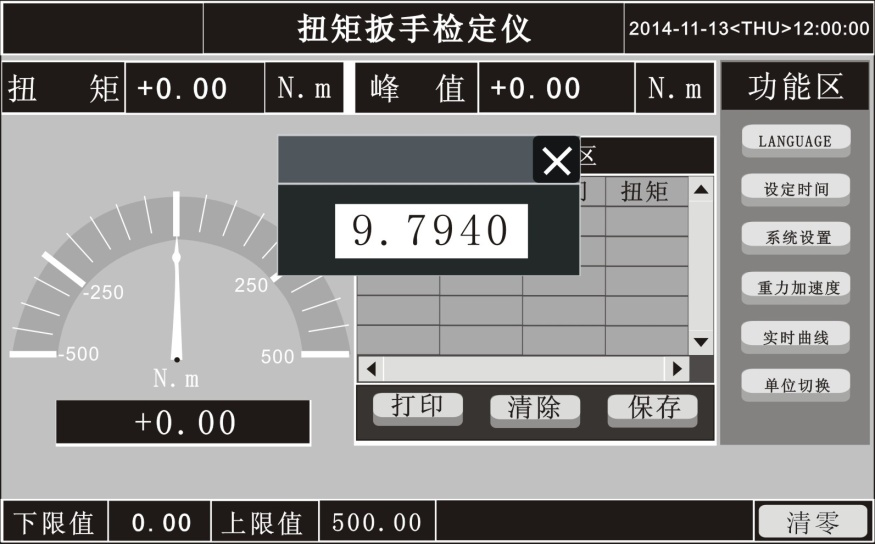
The default gravity acceleration is \"9.7940 \". When you want to modify, click the white box, a new dialog box will appear, as shown below:
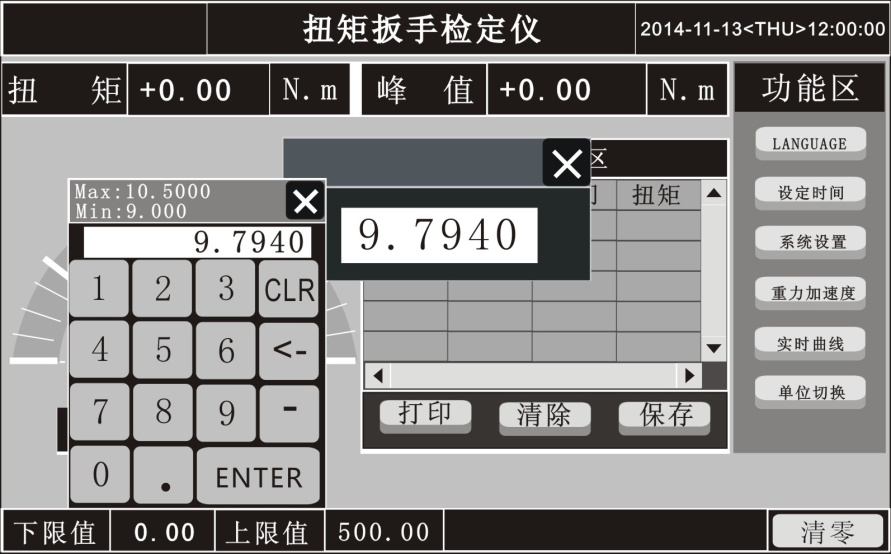
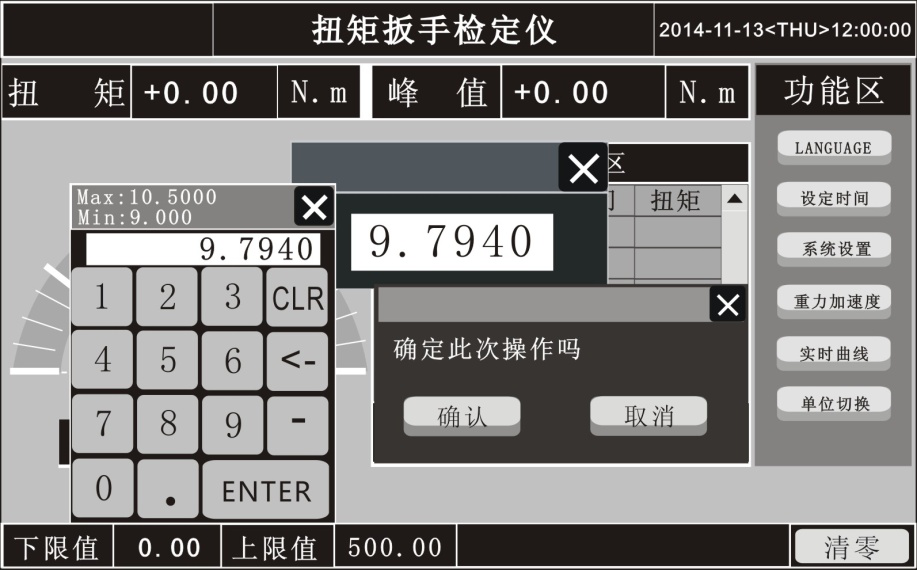
Enter the value to be set (Max: 10.5000, Min: 9.000 at the top of the dialog box means that the maximum value can be set to 10.5000 and the minimum value can be set to: 9.000), press \"ENTER \", a new dialog box will appear, press \" OK \". As shown below:
e. \"Real-time curve \": display the real-time test force value in a curve. Press \"Live Curve \", you will enter \"Live Curve \"
Interface, as shown below:

\"Cursor force value\": It is the force value at any point on the curve, (click the point of the curve, \"Cursor force value \" will display the value).
\"Clear \": Press \"Clear \" to clear the peak value of the curve.
\"Clear curve \": Clear the curve on the screen. (After pressing \"Curve Zoom \", the curve will not be cleared. You need to double-click the screen to restore the curve to normal size, and then press this key to clear the curve).
\"Peak and valley clearing \": Clear the value of\"Curve and valley value\" or\"Curve peak value\" displayed at the bottom of the screen (clear the value of\"Curve peak value\" when measuring the peak value, and clear it when measuring the valley value \"Curve valley value\".
\"Curve Sampling \": Let the force value be displayed as a curve. Click once to start the curve force value display, and then click to pause.
\"Curve Zoom \": After pressing this key, dragging the screen curve will zoom in.
\"Return to the main interface \": Click this button to return to the main interface.
f. Unit switching: The three units are switched between each other, and one unit is switched by clicking. There are three units in this instrument (N · m, kgf · cm, Ib · in).
3.Data storage area
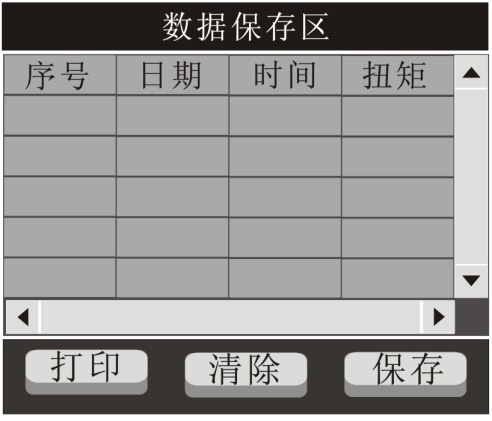
\"Save \" key: Save the data.
\"Clear \" key: Clear the data.
4. Power interface: connect the power supply to use the instrument (this instrument has no charging function).
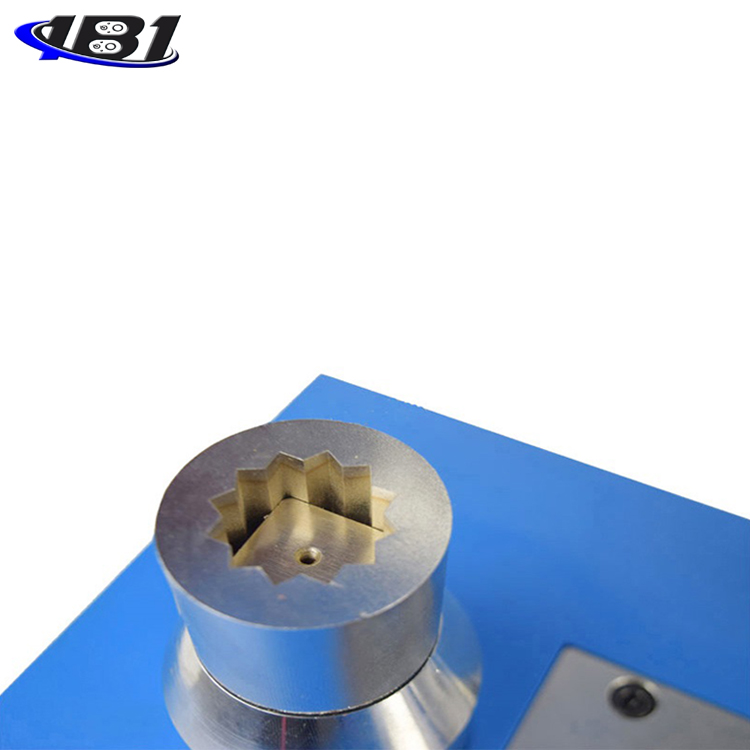
5. Load bearing square hole: It is connected with the square probe of the test object.
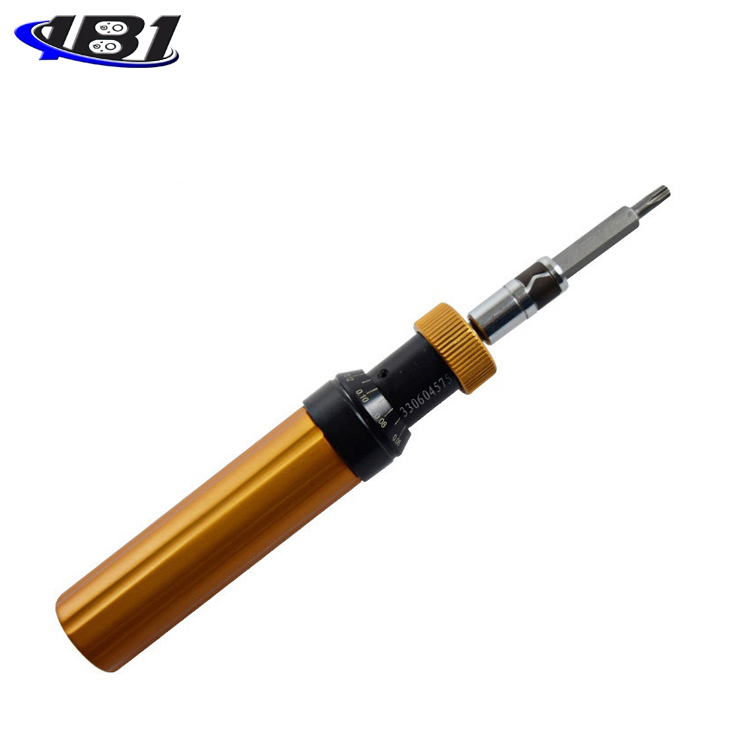
6. Inspection object: such as torque wrench, torque wrench, etc.
7. Handwheel: Turn the handwheel to detect.
V. Working environment
1. Operating temperature: -10 ℃ ~ 40 ℃.
2. Operating humidity: ≤90% RH.
3. There is no vibration source and no corrosive environment around.
Operation steps
1. Insert the power cable and put it into the bearing square hole.
2. Turn on the hard switch.
3. Put the test object in place, and place the square probe of the test object into the bearing square hole of the tester.
4. The tail of the test object does not touch the foreign object, adjust the height adjustment block and length adjustment block, and the display screen is cleared.
5. Shake the handwheel to start the test.
6. If you want to change the unit during the test, press the\"\" Unit switch\"\" key to switch between the three units. Click to switch one unit. There are three units in this instrument (N · m, kgf · cm, Ib · in ).
7. If you want to see the force curve display during the test, press the\"\" Live Curve\"key to enter the\" Real-Time Curve\"interface, and then press\" Curve Sampling\". At this time, shake the handwheel and the curve will appear When you want to pause, press \"Curve Sampling \" again to pause.
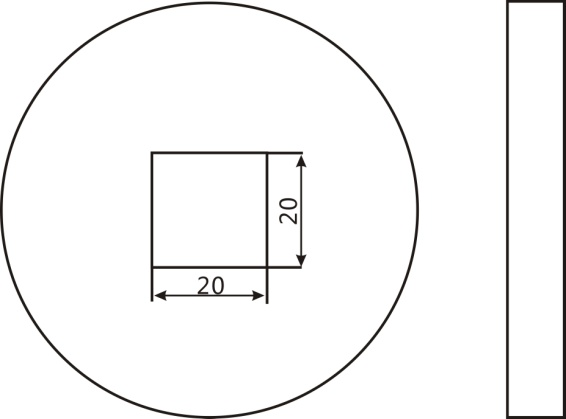
Seven, bearing square hole size
Do not bump the bearing square hole at will to avoid damage. The following is a plan view of the bearing square hole:
Eight, matters needing attention, maintenance and repair
1. Don't test the torque by overload. Be sure to test the torque within the test range of the torque tester, otherwise it will damage the instrument and may cause danger.
2. Do not strike or scratch the display with sharp objects, such as sharp objects.
3. Do not use the torque tester in the place where water, oil or other liquids are splashed. Store the torque tester in a cool, dry and vibration-free place.
4. Do not open the cover behind the display, let alone adjust the trimmer resistor inside.
5. Do not loosen the fixing screws of the torque test head.
6. Please use the matching power adapter to charge, otherwise it will cause circuit failure and even fire.
7. Insert the AC power adapter completely into the socket before using it. A loose plug may cause a short circuit and cause an electric shock or fire.
8. Do not use a power supply other than the rated voltage of the power adapter, otherwise it may cause electric shock or fire.
9. Please do not pull out or insert the plug with wet hands, otherwise it may cause electric shock.
10. Please use a soft cloth to clean the machine, immerse the dry cloth in water soaked with detergent, wring dry, and then remove the dust and dirt. Do not use chemicals that emit easily, such as volatiles, thinners, alcohol, etc.
11. Handle gently during use and handling.
12. Do not disassemble, repair or modify the machine yourself. These actions may cause permanent failure of the instrument.
13. If any trouble occurs, please contact the place of purchase or the company.
14. Within one month from the date of sale of this product, product quality problems occur under normal use and no damage to the appearance. The customer should bring the original sales invoice, valid warranty card and complete packaging to the original place of purchase or the company will replace the same specifications Model products, the replacement products continue the warranty period and terms of the original product.
15. Within one year from the date of sale of this product, under normal use, non-human faults are covered by the warranty (the user disassembles the machine or repairs the company's products at other service points without warranty). The customer must present the original sales invoice and Contact the original place of purchase for a valid warranty card and get a free warranty from our company for one year.
16. The terms of this product are only applicable to digital torque tester products sold in the Chinese market. For products that exceed the replacement period and warranty period, customers can inquire about the maintenance of the original place of purchase or contact the company, provided by the company Paid repair