support hotline
0577-57572522
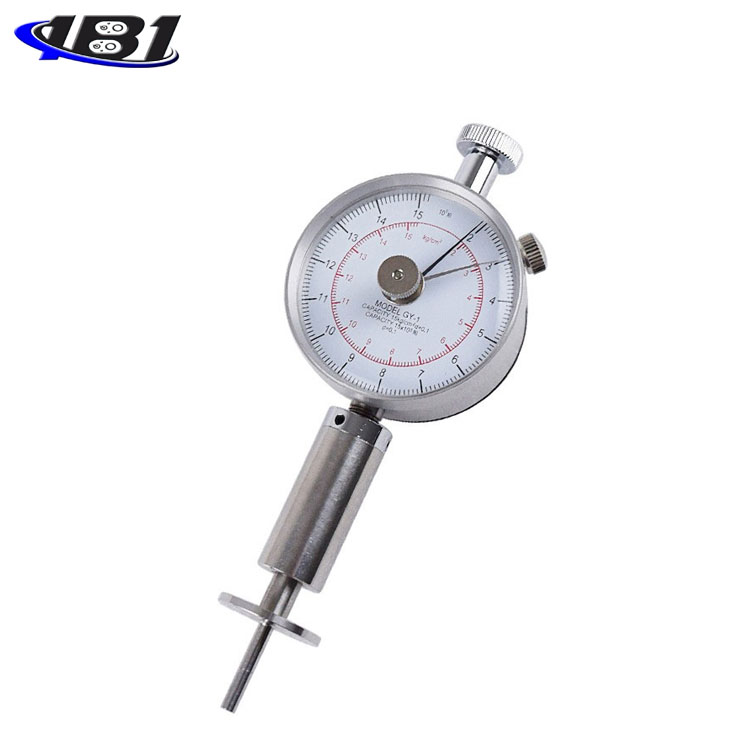
I. Function
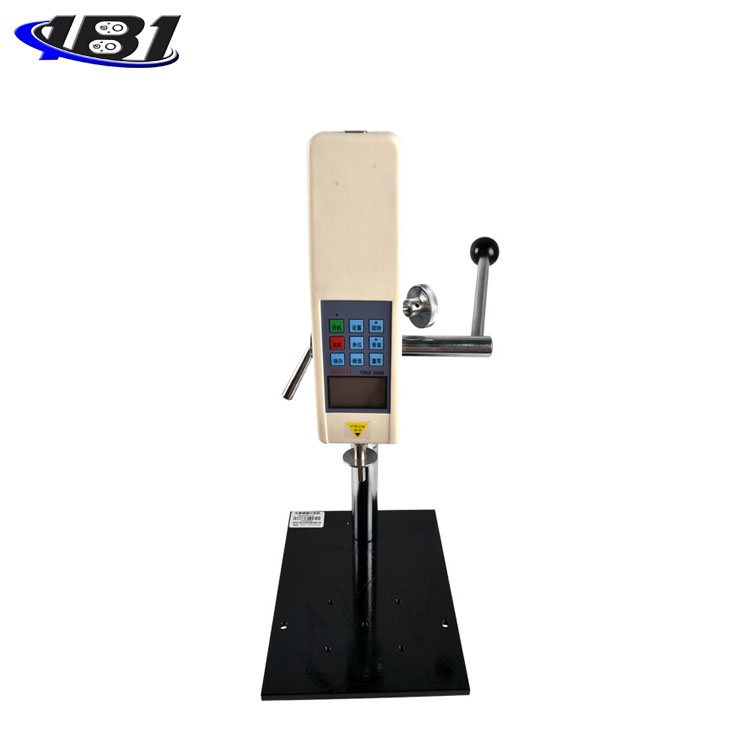
EY-J series fruit hardness stand, specially equipped for EY-4 digital fruit hardness tester, can carry out accurate fruit hardness measurement.
Features:
1. Hand pressure operation, simple and stable operation.
2. Compact structure, gear and rack type transmission.
3. Stable installation, large machine feet and heavy body. The machine can be installed on the table (table) to make the frame more stable.
Specifications:
· Stroke: 90mm
· Maximum load: 500N
· Exact dimensions (length x width x height): 255x240x505mm
· Net weight: 12kg
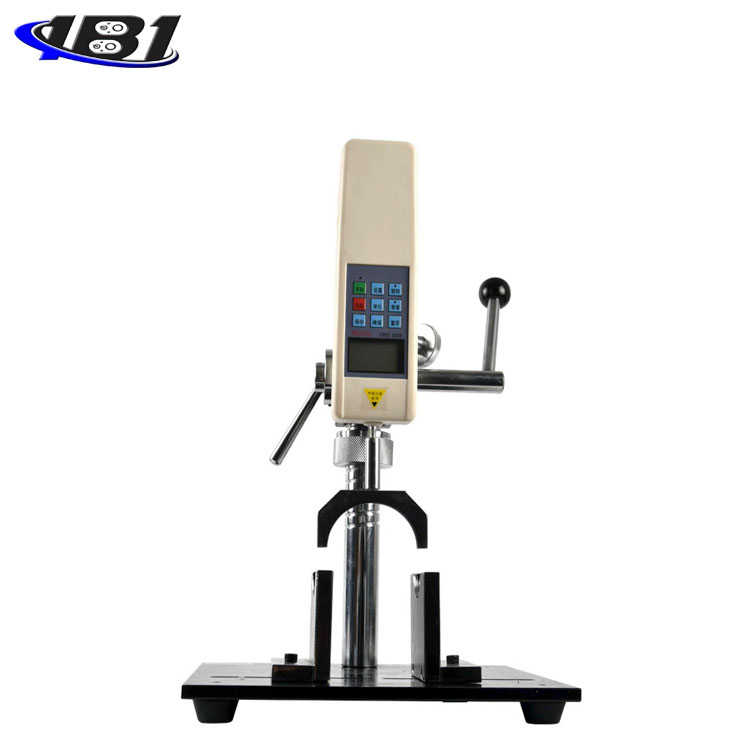
Fourth, test operation steps (hardness tester is sold separately)
1. The specific operation method of the hardness tester installed on the test machine:
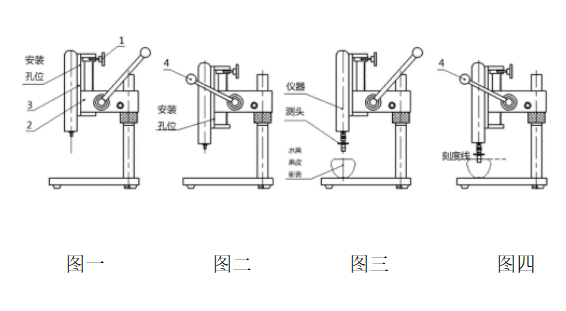
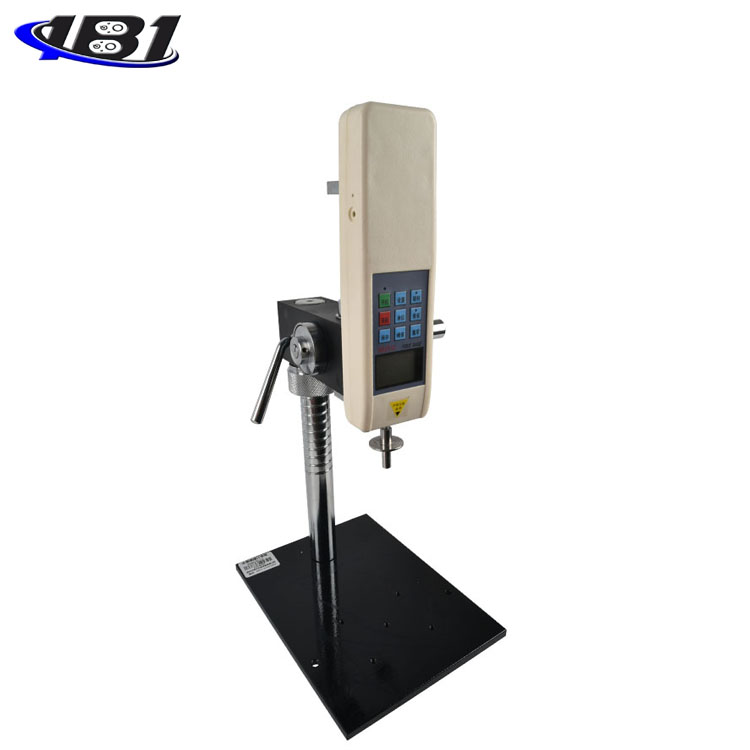
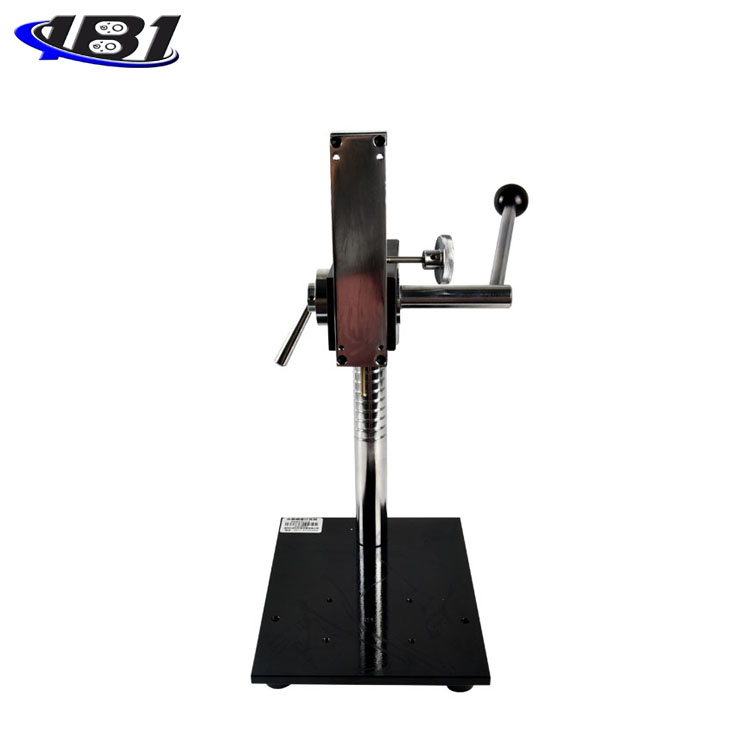
A. Unscrew the adjustment handle 1 first, and slide it down to make contact with the chassis 2 so that the two mounting holes above the mounting plate 3 are exposed; then use the mounting screws and spring pads to install the two upper holes of the instrument on the mounting plate 3. ; Finally, loosen the adjustment handle 1 and return to the original upper position to lock it. (As pictured above)
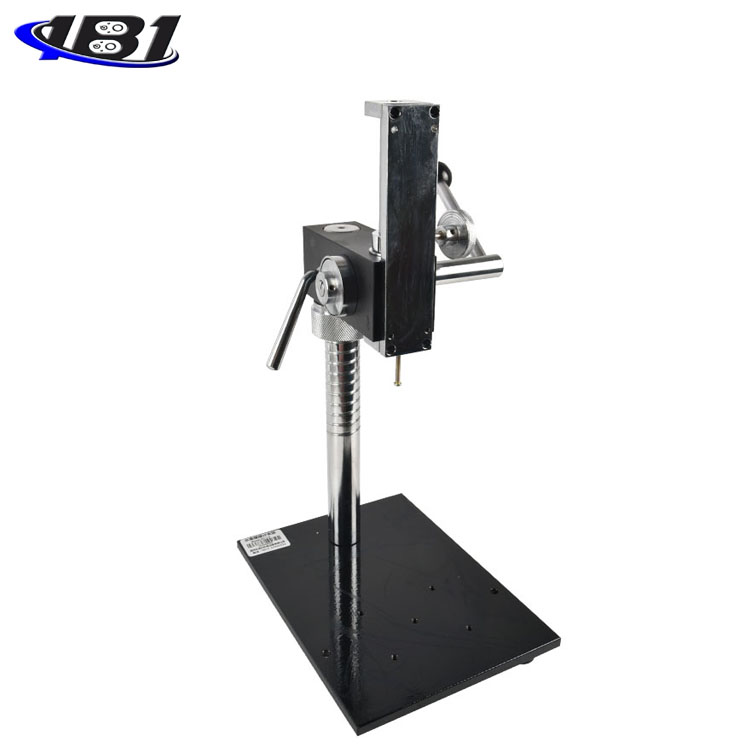
B. After pressing down the handle 4, the two mounting holes under the mounting plate 3 can be exposed; then, the two holes under the instrument are mounted on the mounting plate 3 with mounting screws and spring pads. (As pictured above)
C. Follow the two steps above to tighten all four screws.
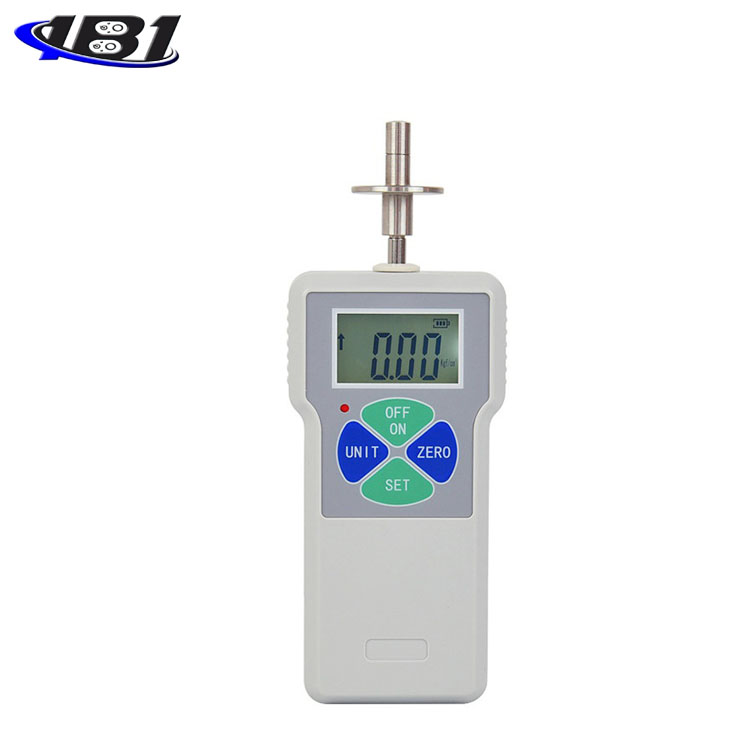
2. Select a suitable probe (Note: when a probe with a diameter of 11 is used, the hardness value displayed by the instrument is the actual fruit hardness value; when a probe with a diameter of 8 is used, the hardness value displayed by the instrument is 2 times the actual fruit hardness Value), use a connecting sleeve with an internal thread to mount the probe to the test rod of the instrument. (As pictured above)
3. Before measurement: First peel the fruit to be measured about 1 square centimeter of peel. When measuring, make the center of the fruit to be tested in line with the test rod of the instrument, so that the force value of the test can be measured.
more acurrate. (As pictured above)
4. Start the measurement: press the \"On\" button to turn on the power. After the LCD display is stable, press the \"Peak\" button to enter the peak measurement mode. (If the display is not zero, press the \"Zero\" button. (Cleared), press the handle 4 down to make the probe point to the peeled flesh, press it evenly until the score line, and complete the measurement. The displayed value is the fruit hardness. (Figure 4)
5. After the test is completed, remove the load, turn off the power, remove the jig, clean each item and put it back in the tool box for the next use.
Five, packing list
Dear Customer:
Hello! Thank you very much for choosing our company's fruit hardness tester holder. When you purchase, please check whether the accessories are complete.
|
Serial number |
Name |
Number |
|
1 |
Hardness Tester Holder |
1 set |
|
2 |
Extension rod clamp |
1 set |
|
3 |
Stretching fixture |
1 item |
|
4 |
Phillips pan head screws M3 * 10 |
4 pieces |
|
5 |
Phillips pan head screws M3 * 16 |
4 pieces |
|
6 |
Spring pad Ф3 |
8 pieces
|
|
7 |
user's manual |
1 copy |
|
8 |
Inspection pass and warranty card |
1 piece |