support hotline
0577-57572522
I. Overview
1.1 Main uses and scope of application
Stem strength tester can also be called lodging resistance tester. It mainly uses pressure sensors to detect the bending, compressive strength and puncture strength of the stem. Generally, the strength of stalks such as corn, sorghum, and tobacco is a major factor in determining lodging resistance. For a long time, the lodging of corn, sorghum, and tobacco has caused great difficulties in mechanized harvesting of such crops. That said, it will cause a lot of crop waste; in addition, corn lodging will lead to insufficient sunlight, which will greatly limit its yield. The instrument is suitable for agricultural genetic breeding.
Second, the functional characteristics
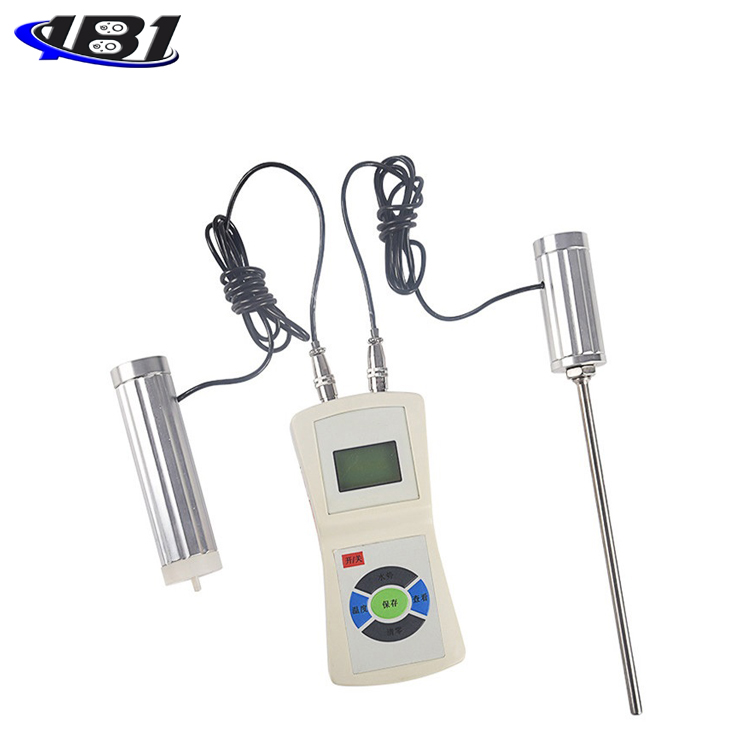
2.1 Can be connected to a computer for testing, and can be saved, printed, and used for various analyses, and can also display parameters such as displacement and pressure;
2.2 Large memory storage function: can store 447 test values;
2.3 Large-screen LCD display: with backlight function (the backlight is suitable for night use), and with screen digital forward and reverse function;
2.4 Automatic shutdown time setting: The automatic shutdown time setting can be set to automatic shutdown from 10 minutes to 90 minutes;
2.5 Battery capacity display: divided into 3 divisions, 2 divisions, and 1 division. When the power is too low, the instrument will automatically shut down.
Third, the technical parameters
3.1 Model: EYD-1;
3.2 Maximum load: 500N (three units of N, Kg and lb can be automatically converted);
3.3 Resolution: 0.1N;
3.4 Accuracy: ± 0.5%;
3.5 Power supply: Charging power supply: 220V / AC; Battery continuous working time: 6 ~ 8 hours;
3.6 Stability: Temperature drift: 0.2uV / ° C (0-60 ° C); Zero drift: ≤ 0.1% / 8 hour / FS;
3.7 Calibration range: full scale calibration;
3.8 Ambient temperature: 0 ~ + 60 ℃;
3.9 Ambient humidity: ≤ 80%;
3.10 Allowable overload: 150%;
3.11 Power supply mode: No. 5 nickel-cyanide battery pack / 220V AC charge for 4 ~ 6 hours.
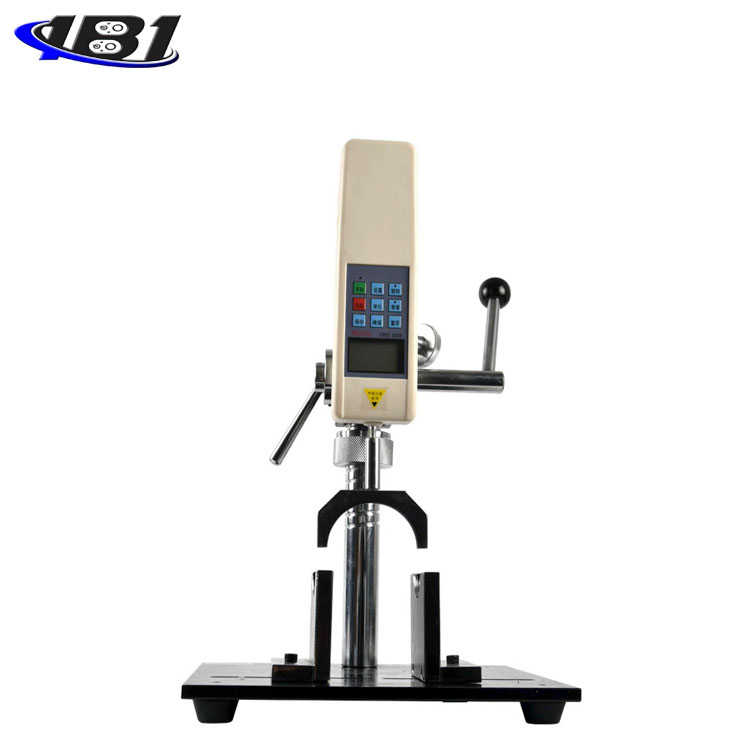
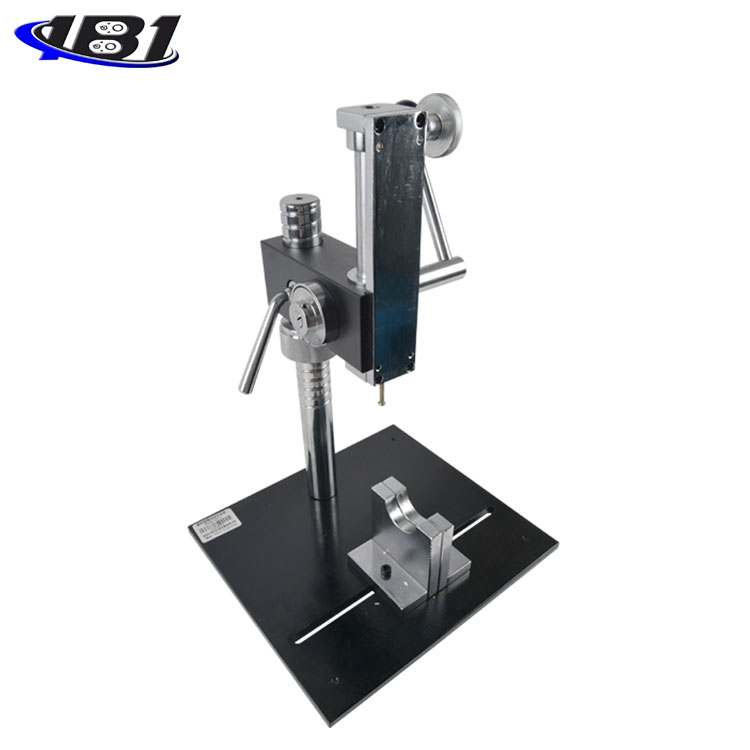
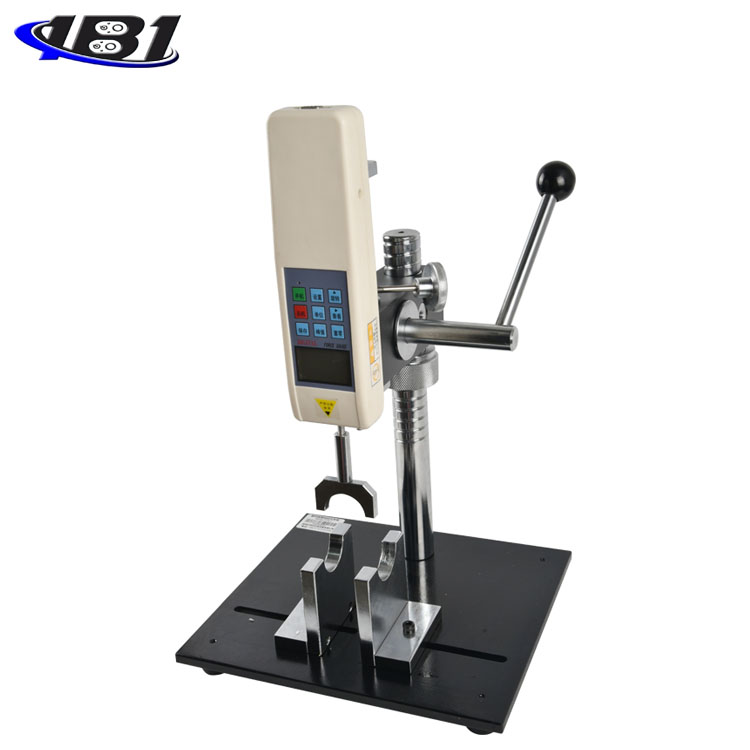
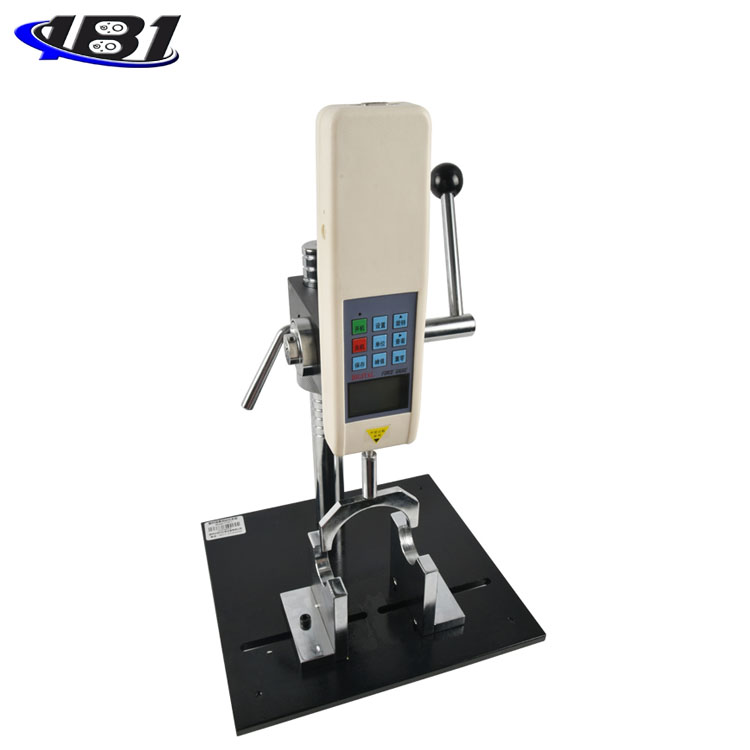
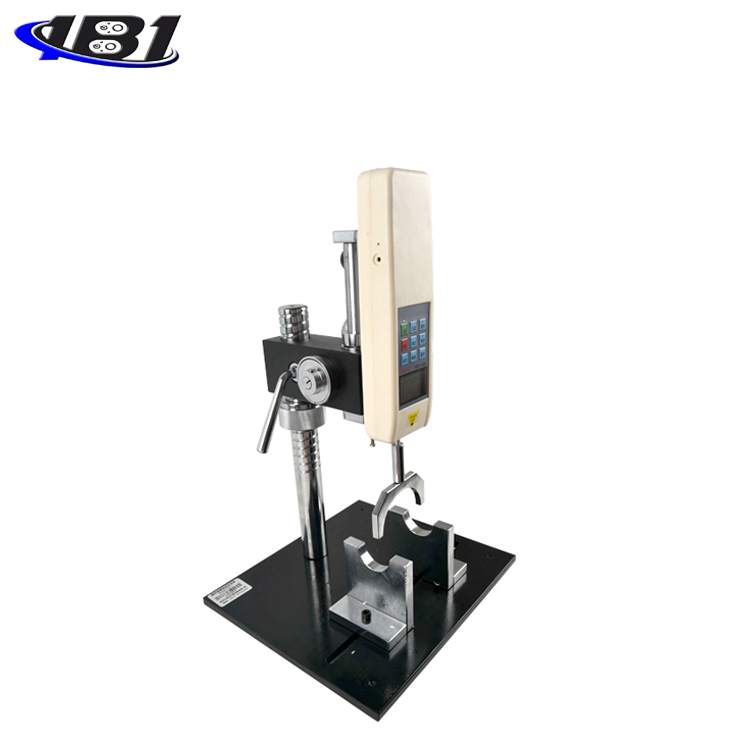
Fourth, the structure diagram
Five, key description

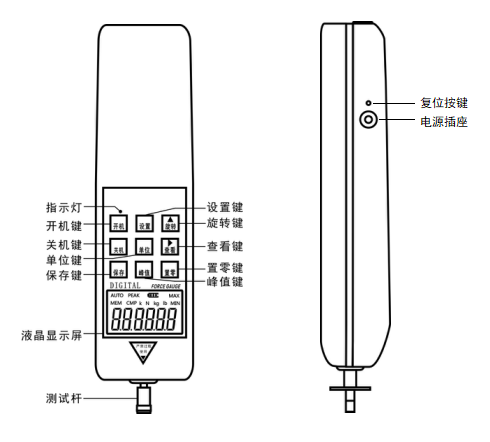
5.1 \"Startup \" key:
When you press this key, the power is turned on and the model number is displayed. After powering on, before pressing the\"\" Zero\"key\" to clear, the zero drift value of the analog signal may be displayed on the screen, just press the\"\" Zero\"key\" to clear it.
5.2 \"Shutdown \" key:
In the power-on state, when you press this key, the power is turned off, but the stored saved data will not disappear. When starting up (that is, when the model number is displayed and the measurement interface 0.0 is not displayed), pressing the shutdown key at this time cannot respond.
5.3 \"Save \" key:
In the peak measurement interface state, press this key to save the test data displayed on the screen; in the function setting interface state, press this key to save the set parameters. When some test data is stored in the machine, \"MEM \" is displayed. This machine can store 447 data.
5.4 \"Peak \" key:
Each time you press this key, there will be a switch between \"PEAK \" display, \"AUTO PEAK \" display or \"PEAK \" disappearing—that is, peak hold, peak hold automatic release, and load real-time value mode switching.
5.5 \"Unit \" key:
Press this key to execute the measurement unit switch, which can display three units of N (Newton), kg (kg) and lb (pound) in a cycle. When the test data is displayed, the unit conversion of the same value can also be completed.
5.6 \"Settings \" key:
In the real-time measurement interface, press this key to enter the setting item interface; in the setting item interface, press this key to enter the required setting option.
5.7 \"Rotate \" key:
This key is only valid in the test interface. When this key is pressed, the measured value displayed on the screen will flip 180 degrees.
5.8 \"View \" key:
When you press this key, the stored test data will be called up and displayed on the screen in sequence. At this time, the word\"\" MEM\"\" will flash-the number of saves will be displayed first, and the saved data will be automatically displayed after 2 seconds. Press the\"Zero Set\" key to return to the measurement interface.
5.9 \"Zeroing \" key
When you press this key, the test value on the screen will be reset to zero. Note: When the instrument is reset to zero, the instrument can only be reset to zero in the real-time measurement mode and under the peak and automatic peak.
※ Select a lighter fixture or release the applied load and clear it again.
※ On the \"View \" interface, press and hold this key for 4 seconds, all the stored test data can be cleared (it may not be cleared in some states, then restart the machine and then execute this function to clear all saved data) .
Six, other function description
6.1 Print function description
This function can output the stored test data to a computer for printing through a data cable.
a. First run the supplied CD-ROM, open the folder in the CD-ROM and click on the\"data export program\" file, then click on the\"setup.exe\" file, and then click on the\"Next\" Keep clicking \"Next \"
 \"carry out\".
b. Connect the instrument to the computer with a data cable. When the instrument is powered on, when the LCD screen shows zero, double-click the \"dynamometer communication software 3.0.exe \" shortcut key on the desktop, and then Click \"Receive \" in the pop-up window, and the stored test data will be output to the computer through the data cable. After receiving the data, click \"Print \", and click Print in the pop-up window to print.
6.2 Synchronous test function description
This function can display the synchronous test curve and data during the test.
a. First run the random CD, open the folder in the CD, click \"Sync Test Software \" file, click \"Install.EXE \" file, and click \"Next \" Keep clicking \"Next \"
 \"carry out\".
b. For specific operation steps, please download the\"Dual Digital Push-Pull Force Gauge Synchronous Test Function Demonstration\" in the FAQ column on the company's homepage, and refer to the operation of this demonstration.
6.3 Resolving overload conditions
When the alarm is turned on and the display data cannot be cleared, the battery is low or severely overloaded.
Approach:
a, charging;
b. Press and hold the\"\" Setting\"\" button for more than 4 seconds, the instrument will automatically shut down, and then press the\"\" Startup\"\" button to turn it on after powering off to restore the factory settings (if it cannot be restored, you need to return to the factory to replace the sensor).
6.4 Resolving the crash state description
When the measuring instrument freezes, press the \"Reset \" key on the left side of the measuring instrument.
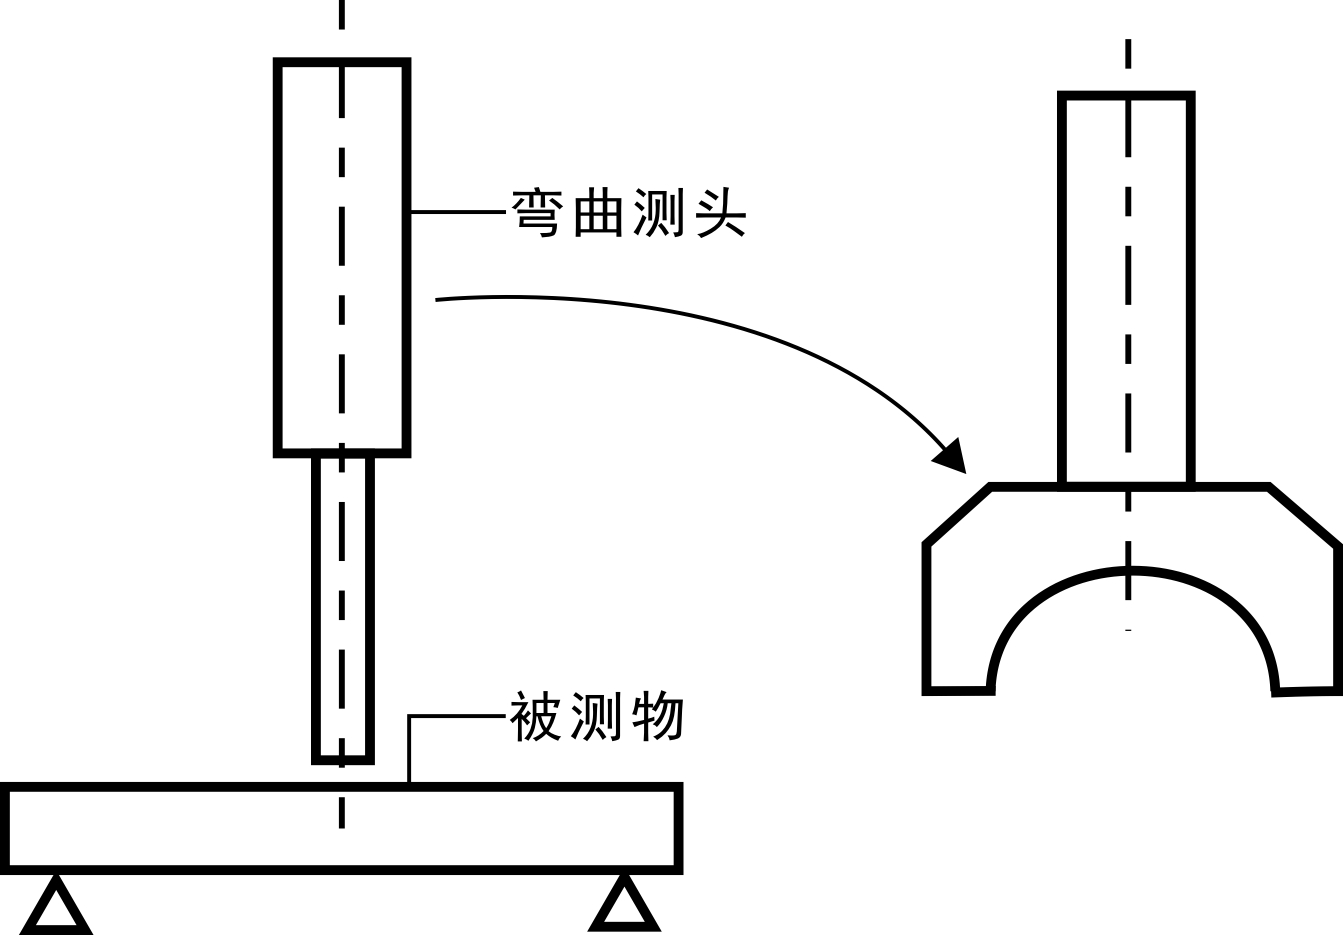
6.5 Stem bending performance measurement
The main measure of stem bending is divided into four growth stages of the plant: 1. Flowering stage; 2. Semi-kernel stage; 3. Milk ripening stage; 4. Wax ripening stage to determine the lodging resistance of the stem. . As shown below:
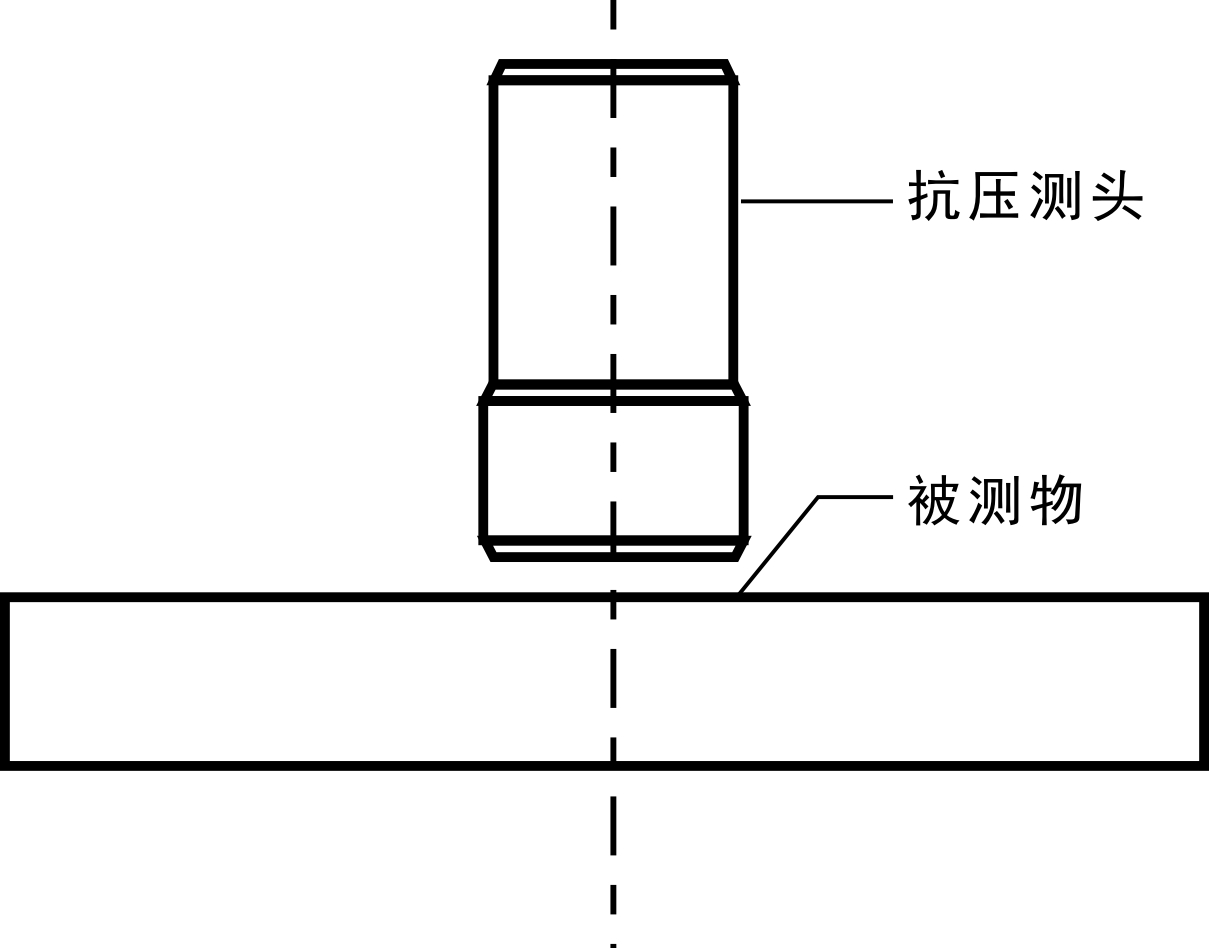
6.6 Stem compressive strength measurement
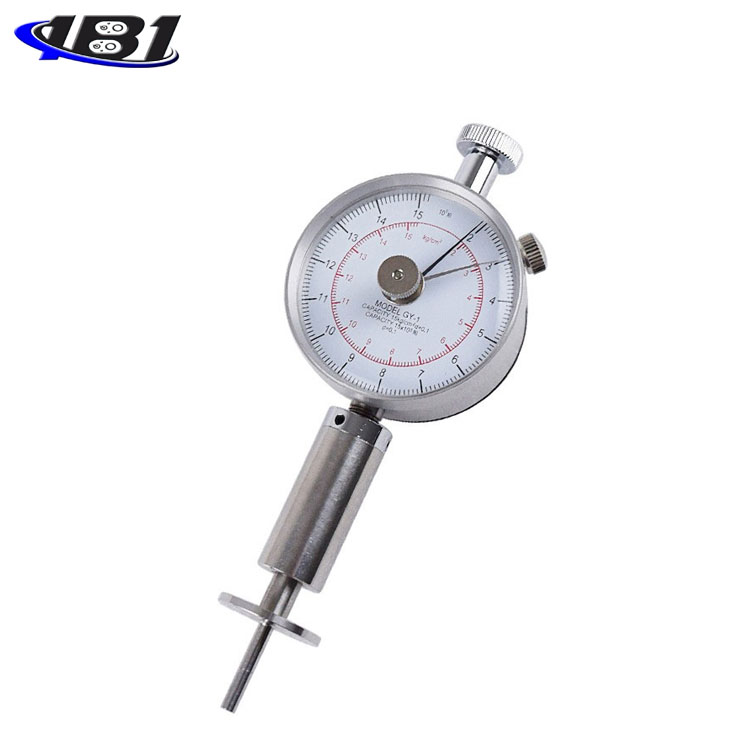
The main measurement of the radial compressive strength of the stem is to determine the brittleness index of the stem (the area of the probe is 1 square centimeter) as shown below:
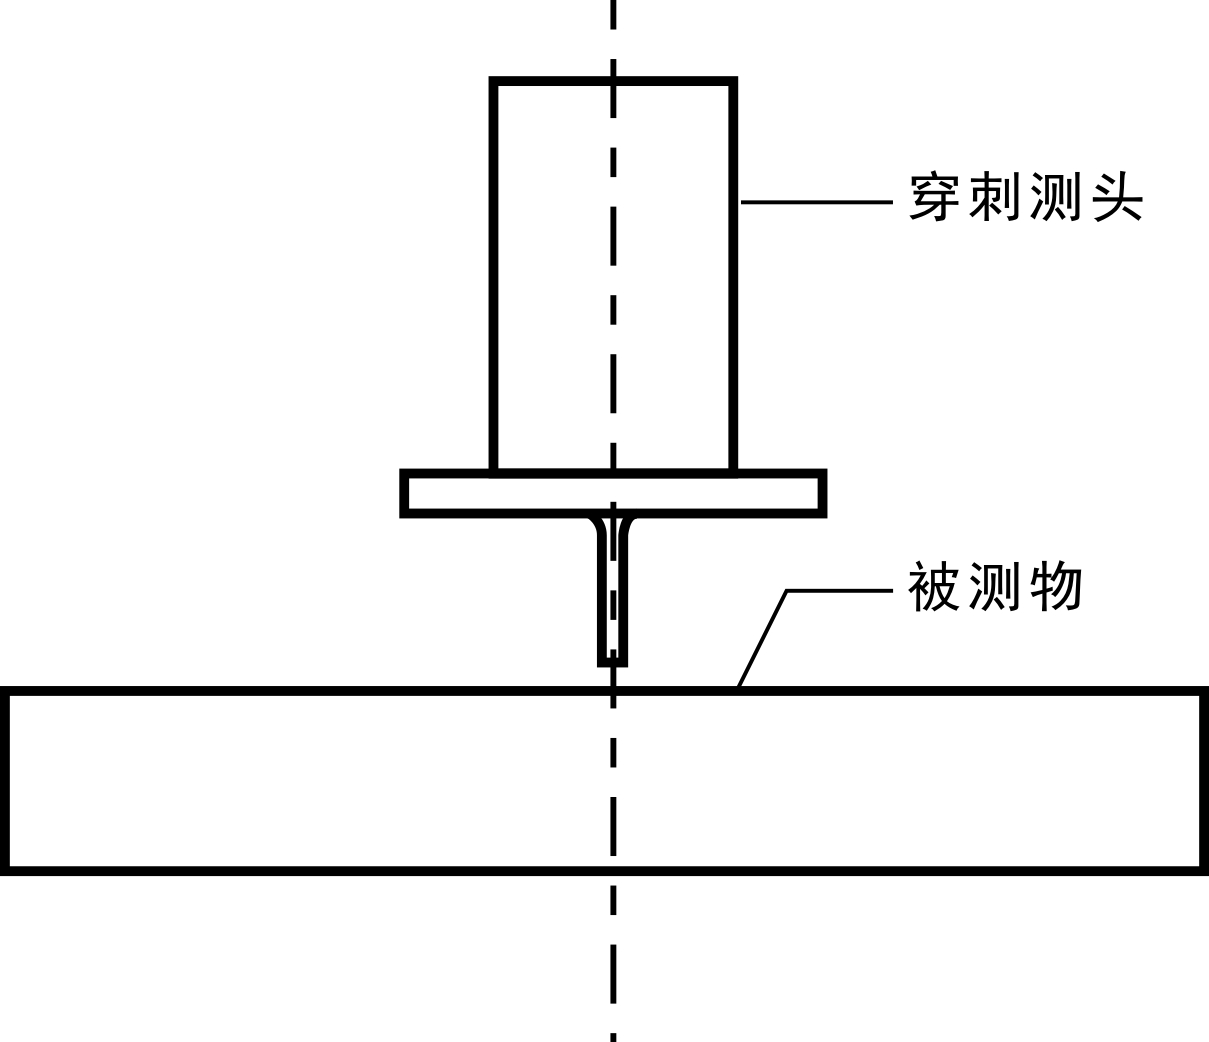
6.7 Stem tissue structure strength measurement (puncture method)
The main measurement of the tissue structure and cross-section geometry parameters of the stem material is the puncture resistance (the probe area is 1 square millimeter) as shown below:
Seven, test operation steps (refer to the specific operation steps can refer to the CD-ROM with the machine):
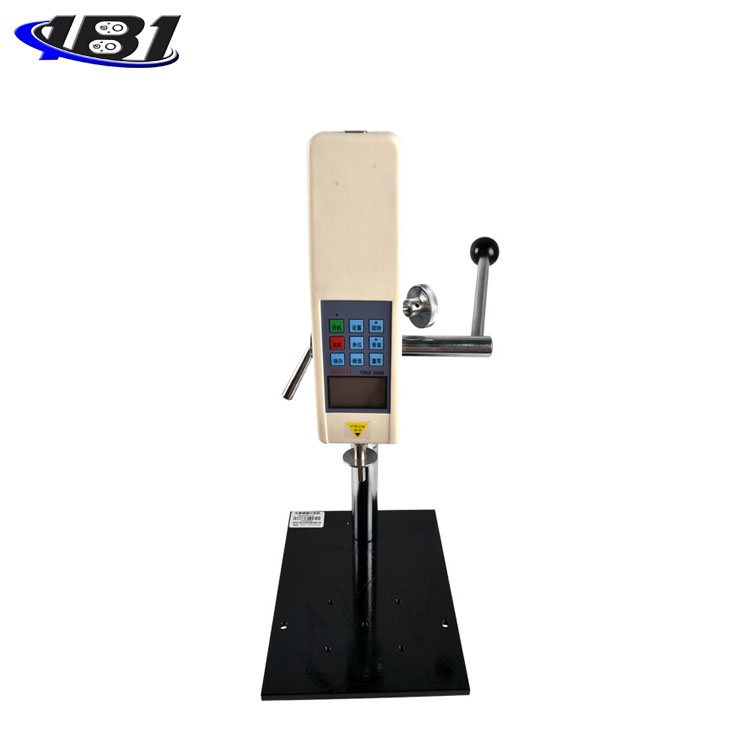
1. During the test, install the measuring instrument on the test bench. The specific steps are as follows:
a, loosen the locking handle first, so that the mounting plate is adjusted to the side of the machine; then use the locking handle to lock it;
b. Loosen the upper adjustment handle and slide it down to make contact with the chassis to expose the two mounting holes above the mounting plate; then use the mounting screws and spring pads to install the two upper holes of the dynamometer on the mounting plate Tighten); then slide the upper adjustment handle back to its original position to lock it;
c. First release the lower adjustment handle, and after pressing down the handle, slide the lower adjustment handle toward the chassis to make it contact, so that the two mounting holes under the mounting plate can be exposed; then use the mounting screws and spring pads to move the The two lower holes are installed on the mounting plate (tighten); then slide the upper adjustment handle back to its original position to lock it;
d. Finally, loosen the locking handle to return the mounting plate to the original position (front of the machine); then use the locking handle to lock it.
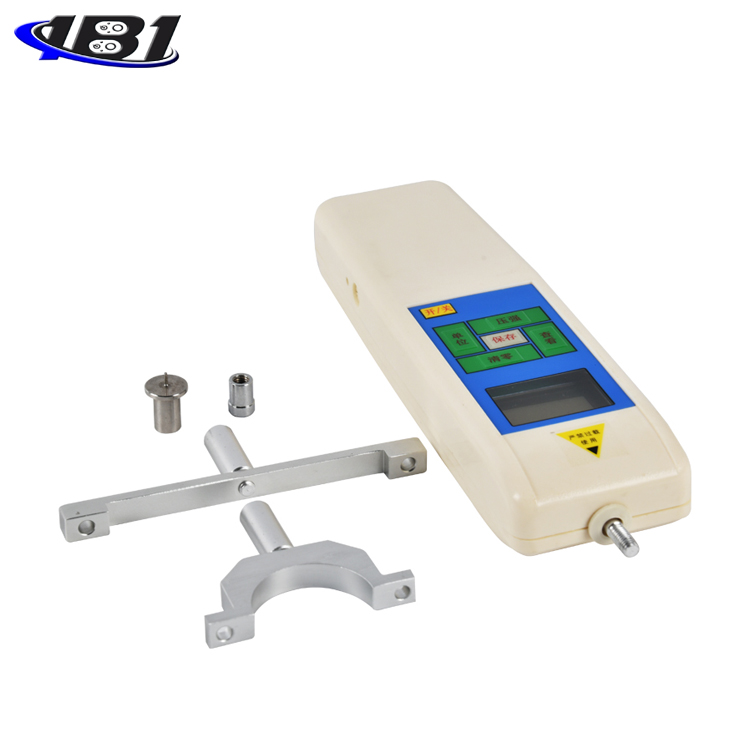
2. Install the probe on the screw on the measuring instrument;
3. Put two pieces of the same fixture on the two sides of the stem strength tester, so that the center of the measured object and the center of the probe are on the same straight line;
4. Rotate the upper and lower adjusting nuts of the test bench so that the fixture can contact the measured object;
5. Press the \"On \" key to turn on the power, and then start the test;
6. The value displayed on the intensity tester is the obtained intensity value.
Packing list
Dear Customer:
Hello! Thank you very much for choosing our company's stem strength tester. When you purchase, please check whether the following accessories are complete.
|
Serial number |
name |
Quantity |
|
1 |
Machine |
1 set |
|
2 |
Digital display |
1 set |
|
3 |
Flat round probe (large) |
1 item |
|
4 |
Flat round probe (small) |
1 item |
|
5 |
Flat indenter |
1 item |
|
6 |
Pressure needle |
1 item |
|
7 |
M6 Allen key |
1 item |
|
8 |
M3 * 10 Phillips screws |
4 pieces |
|
9 |
M3 * 12 Phillips screws |
4 pieces |
|
10 |
φ3 elastic washer |
8 pieces |
|
11 |
charger |
1 |
|
12 |
Rs232 computer cable |
1 |
|
13 |
Inspection certificate |
1 piece |
|
14 |
Supporting software and operation demonstration CD |
1 |
|
15 |
user's manual |
1 serving |
|
16 |
Certificate and warranty card |
1 piece |
|
17 |
Desiccant |
1 package |